
RESTORATION BUILD LOG
Volti Audio – 2015 Klipsch Khorn Restoration
4.2015 – By Greg Roberts
SOLD 7/4/2015
2015 Klipsch Khorn Restoration Origin and Starting Condition
This 2015 Klipsch Khorn restoration project shows the rebuild of a rough pair of Klipschorn cabinets into finished Volti Khorns. The work includes cabinet repairs, enclosed backs, new top-hat pieces, rosewood veneer, lacquer finish, and Volti Audio upgrade parts.
A few years ago I got an email from someone here in Maine asking if I’d be interested in buying an old pair of Khorns. They belonged to his father, who had just died a few months earlier, and the family didn’t know what to do with the “monstrosities”. I bought them for a few hundred dollars, figuring I could do something with them someday. Well now that day is here.
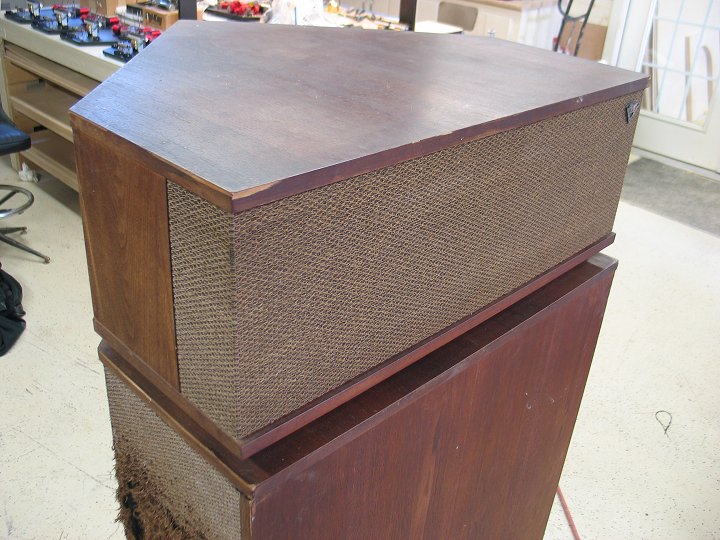
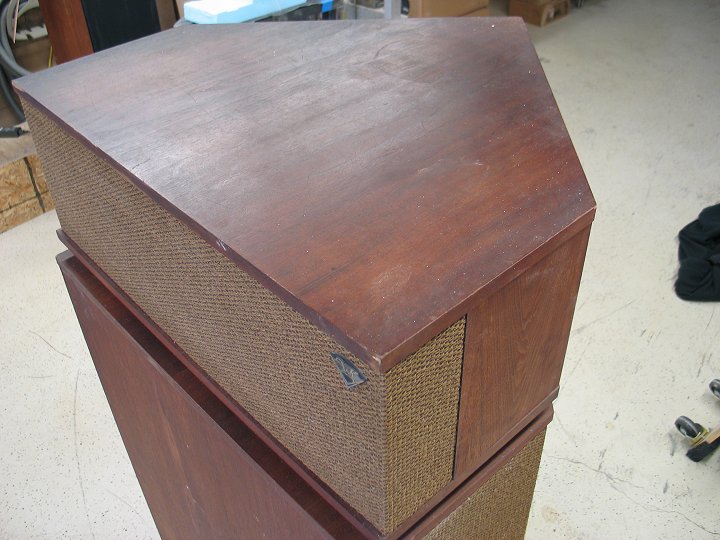
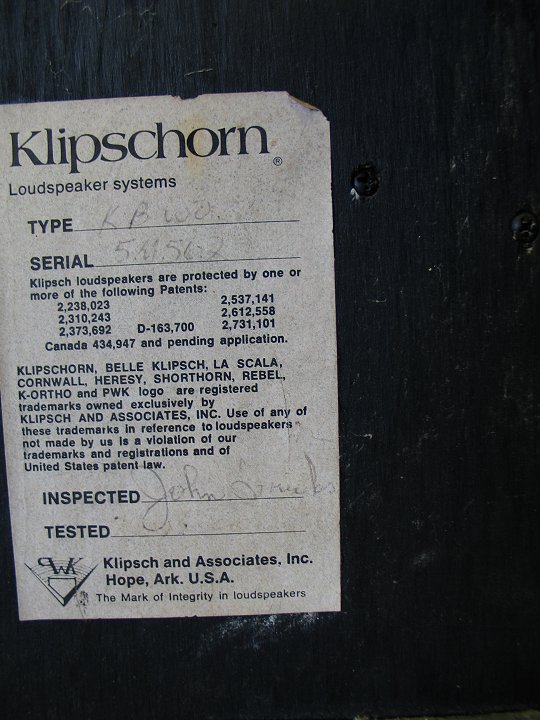
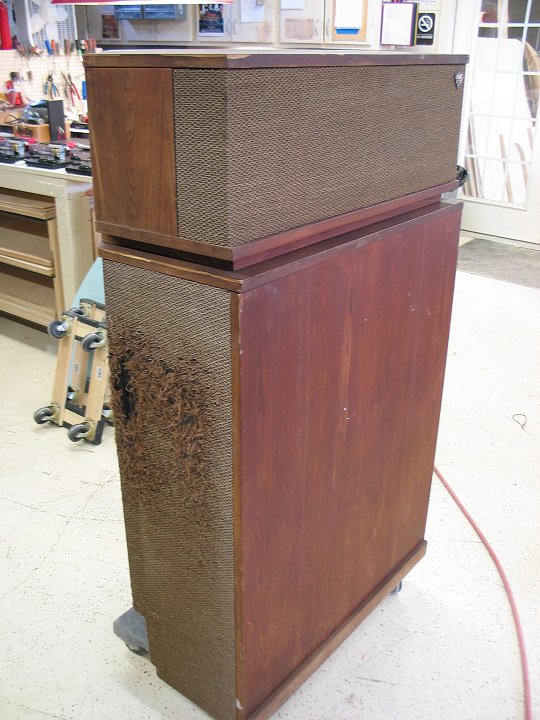
They were in very rough shape to say the least, but I didn’t care, I knew I was only going to need the raw bass horn carcasses for my project.
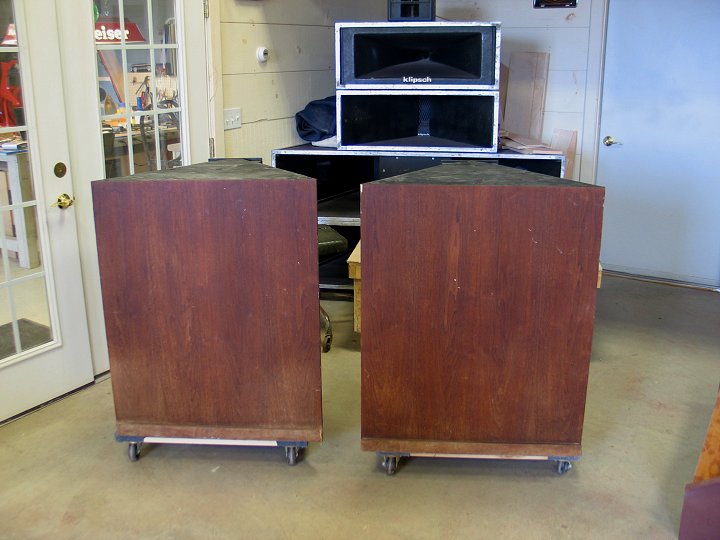
2015 Klipsch Khorn Restoration Build Plan
My plan is to build new Volti Khorn speakers from these raw bass horns. I will enclose the backs with plywood. This will form the outer part of the final bass horn mouth.
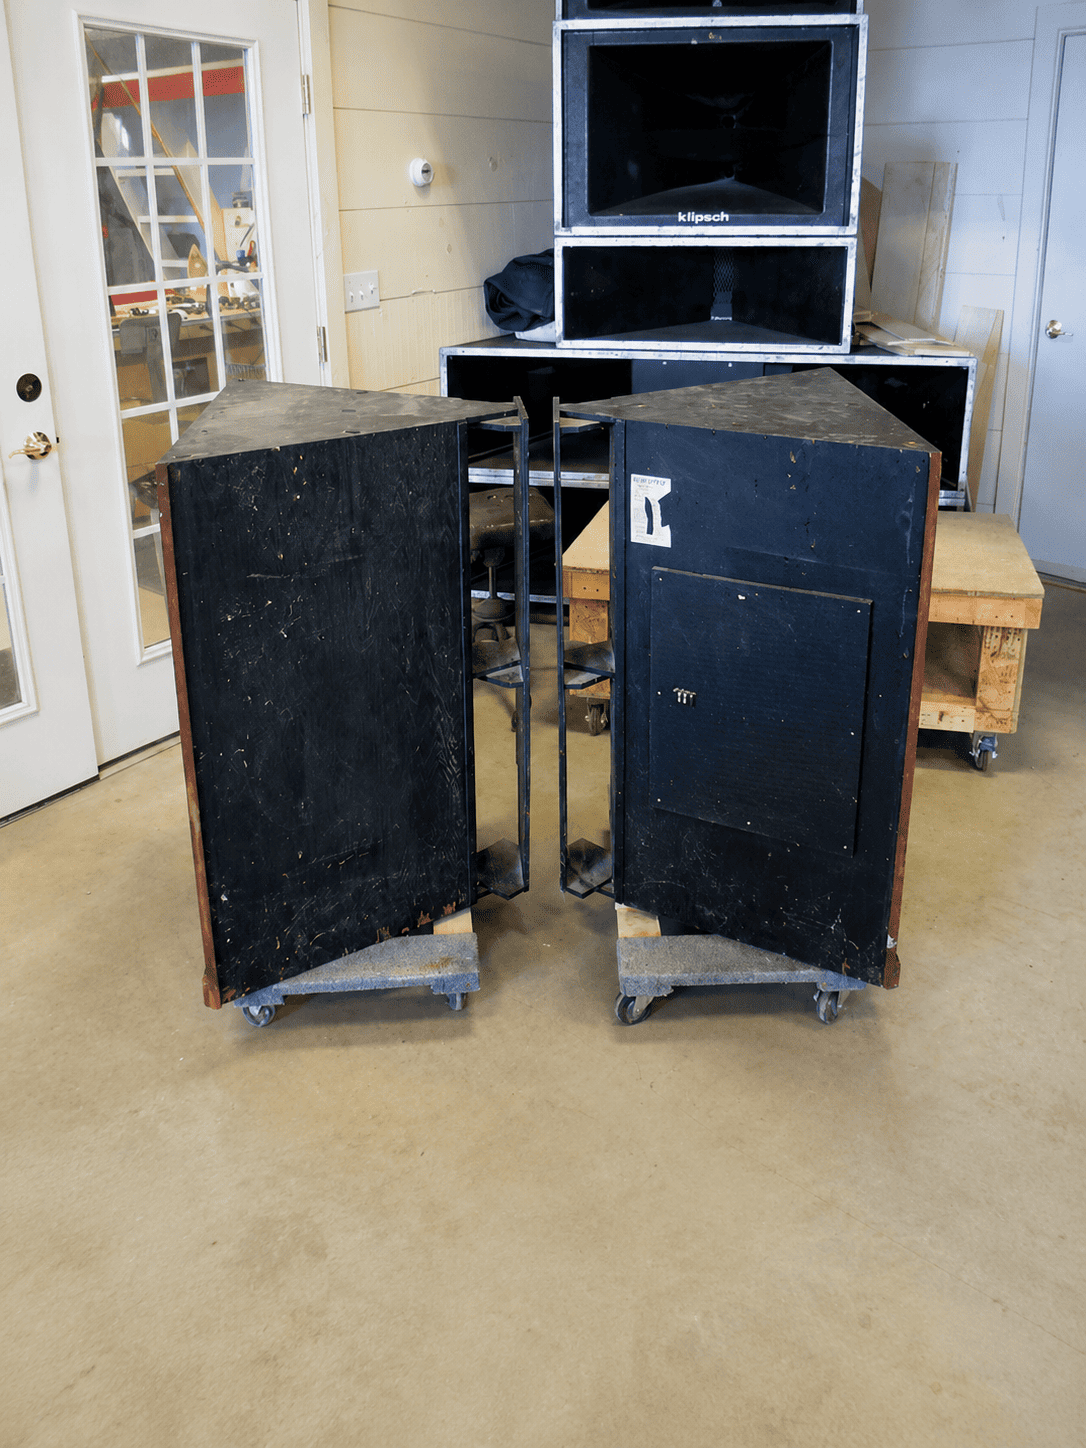
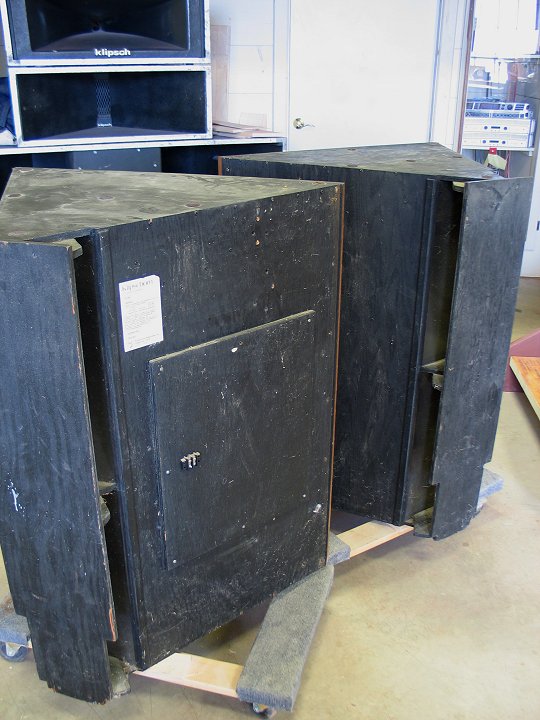
Enclosed Back Design Explanation
Enclosing the backs of Khorns is not a new idea. Klipsch did this on their 60th anniversary model Khorns, and I’ve done it on a couple of pair to date. I got a chance to test the difference with a comparison between the “FLKhorns” and my own Khorns back when I did the “FLKhorn” restoration. Both sets of Khorns had exactly the same components. The only difference between them was that the “FLKhorns” had enclosed backs and mine didn’t. The difference in sound quality was clearly heard. The enclosed backs really helped the upper bass definition, something that is somewhat of a weak point with all Khorns.
I believe that properly enclosing the backs of Khorns means NOT making the horn smaller. If I were to install 3/4″ plywood “within” the outer limits of the existing cabinets, that would mean the last part of the bass horn mouth would become smaller by that 3/4″ thickness. I think the better way to enclose the backs is to attach the 3/4″ plywood to the outside of the existing cabinet structure, which maintains the exact horn size. But this means that the cabinets “grow” in size by the thickness of the plywood used, and then the tophat pieces need to be made larger to keep everything fitting tightly into the room corners. See the “FLKHorn” restoration webpage for more info.
So as I thought about the work that I did before to increase the size of the existing tophat pieces on the “FLKhorns” and the end result of adding those pieces on and how they “shadowed” through the veneer, I made the decision to simply make new tophat pieces for this project.
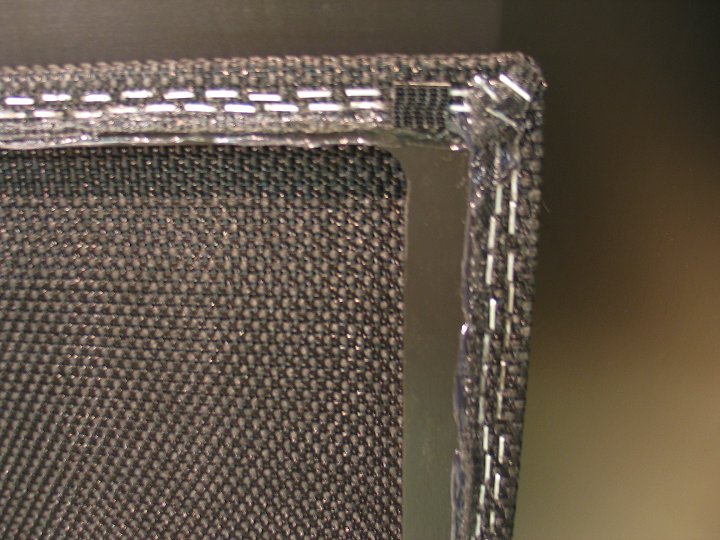
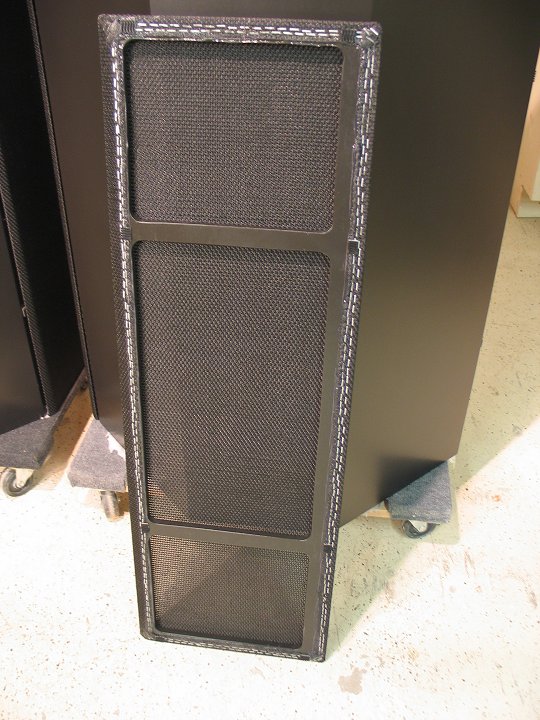
When building enclosed backs for Khorns, the existing side grill frames are no longer usable and new frames need to be made.
I’m planning to replace all of the old components with new Volti Audio upgrades.
So as you can see, taking this all into consideration, there was no need for me to save any of the components, the tophat cabinetry, or the grill frames. From this point on, it’s all a new speaker build with all new tophat pieces, new grill frames and cloth, and all new Volti Audio upgrade components. Should be a very nice set of Khorns indeed.
First Day of Work
First day of the project and I took the woofer chamber doors off, the woofer motorboards out, removed the felts on top of the bass horns, removed the metal feet from under the bass horns, and then removed the front trim pieces, which are screwed on from the backside before the cabinets are assembled, so there’s no way to get to the screws.
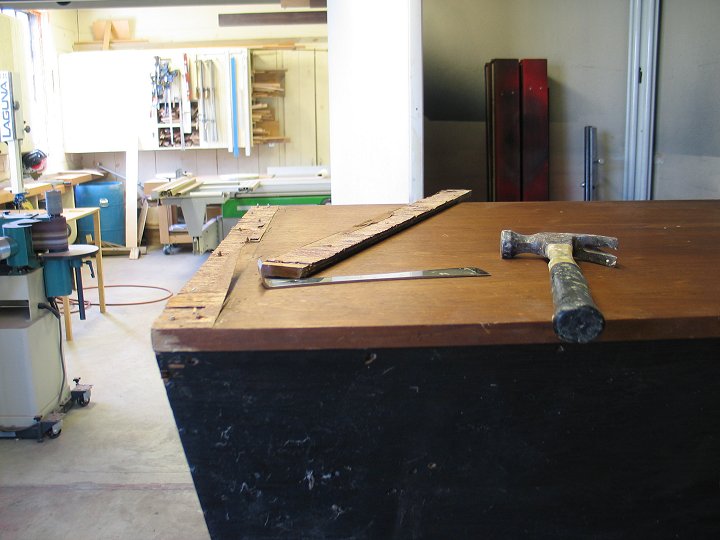
After pulling the pieces off, I used Vise-Grips and broke the screws off, then drove them down in a bit with a hammer and punch.
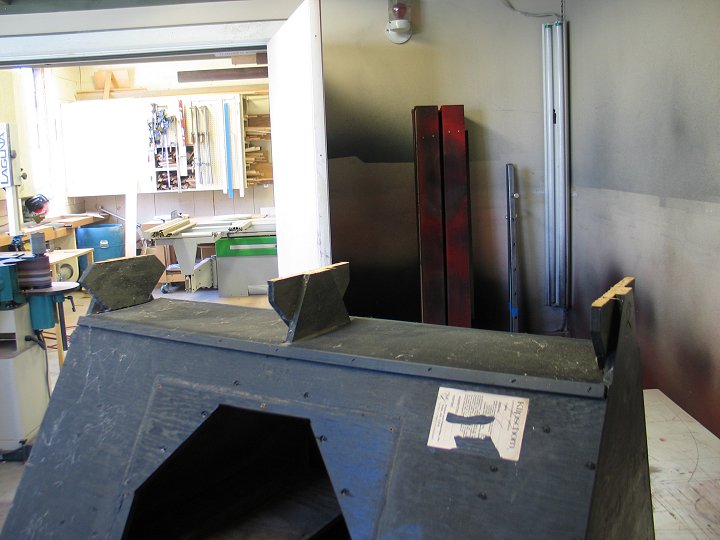
I removed the tailboards easily.
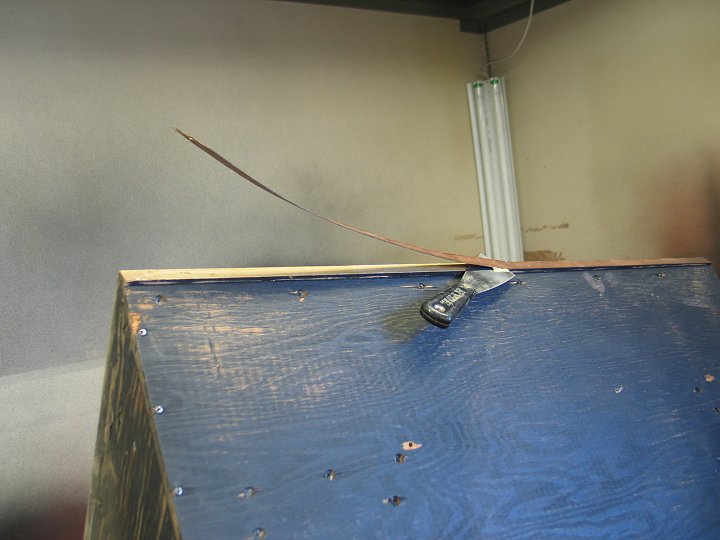
2015 Klipsch Khorn Restoration Cabinet Prep
I used an iron to soften the glue and then a putty knife to take the edgebanding off. Then the cabinets were sanded and I filled the damaged areas with epoxy.
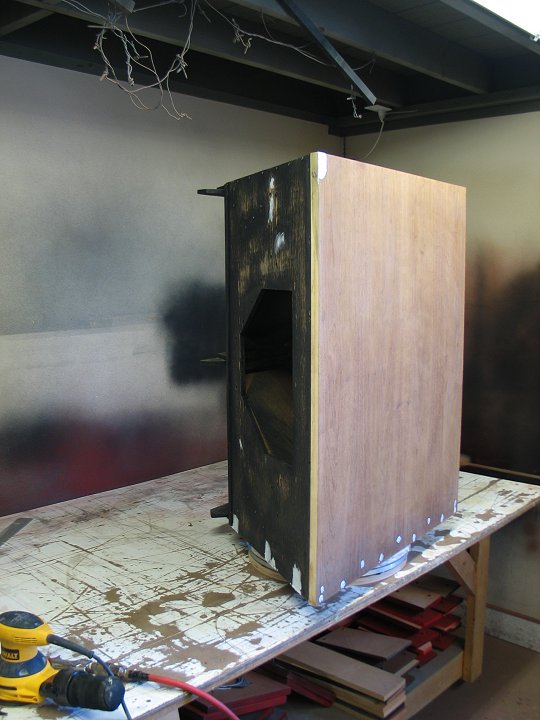
After a couple of days, I sanded these filled areas and re-applied epoxy to fill in gaps. Sanded with a random-orbit sander, 80 grit disc. I had to remove some of the pan-head screws from the cabinets to sand these areas flat.
First coat and sanded
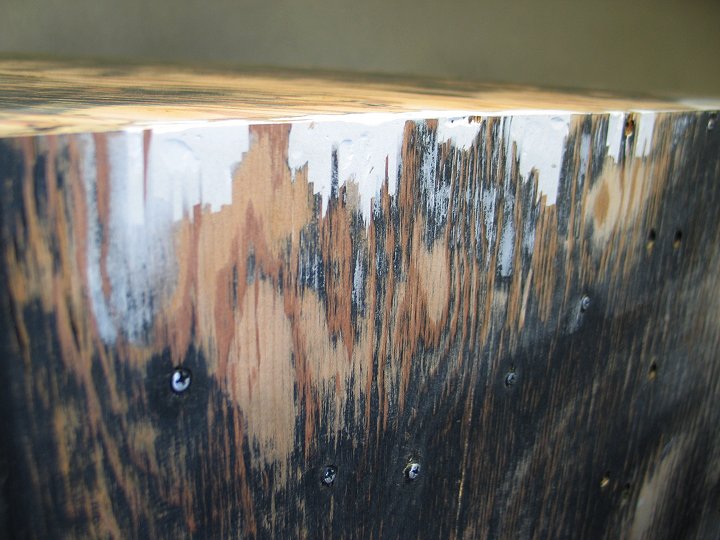
With past Khorn restorations, I’ve spent a lot of time trying to flatten and smooth the plywood sides of the cabinets, and with mixed results. The plywood used did not have a smooth face, and the grain lines are raised significantly. I never was able to truly smooth these sides out, and in the end, I think the results were not worth the time spent trying. So on this set, I’m only repairing the large chip-outs, holes that I don’t need, screw holes from the front trim pieces, and missing edge pieces. Once it’s all painted it will look fine. Don’t forget, these sides are not seen anyway, except when the owner takes the grills off.
Other than a little sanding of epoxy, the next step is to start cutting plywood. But first, I’m heading to Chicago and the AXPONA audio show where I’ll be showing the Volti Audio Vittora speakers. So I won’t be getting back onto this project until the end of April.
AXPONA Schedule Update
AXPONA was a very good show for Volti Audio, and the “hole” in my schedule that occurred just a few short weeks ago has closed up in a big way. More work than I can handle at the moment. No complaints though.
Baltic Birch Top and Bottom Panels
During the last few weeks I’ve been able to get some more work done on the 2015 Volti Khorns. Here you can see I’ve cut some 3/4″ Baltic birch plywood for the tops and bottoms of the cabinets.
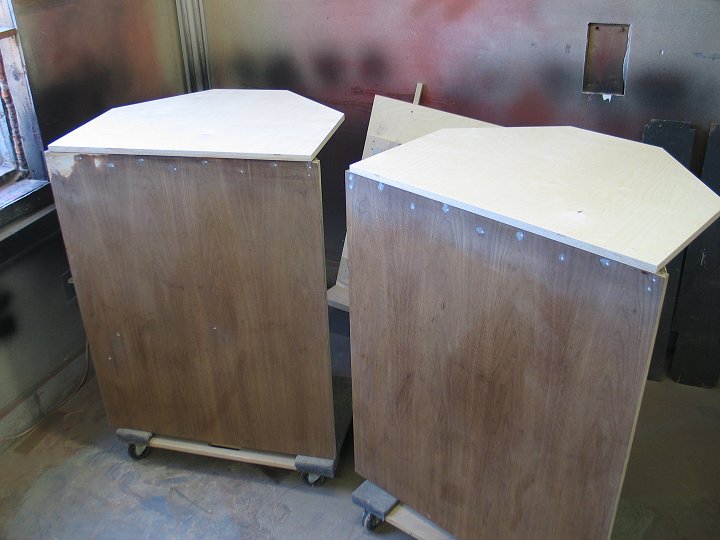
By adding plywood pieces to the tops and bottoms, I’m increasing the cabinet strength while also providing good connection points for the vertical pieces of plywood that will enclose the backs of the cabinets.
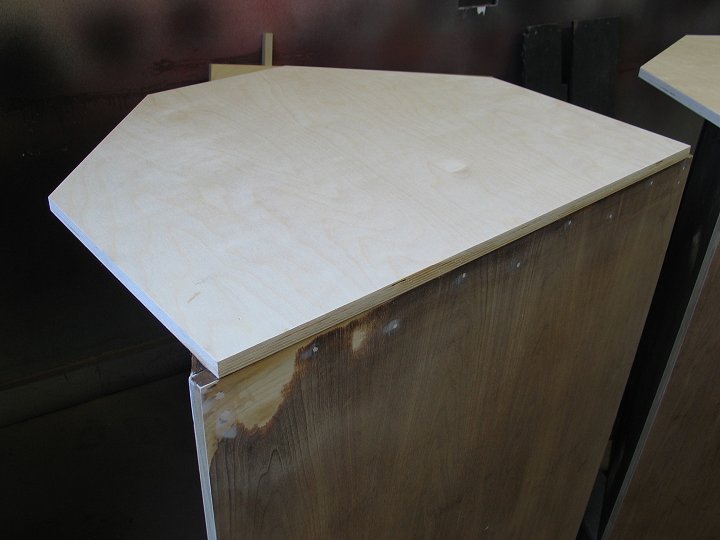
Note how the plywood does not extend all the way to the outer edge of the front plywood panel. This is to allow space for the side grills, which will butt up against the edges of the new plywood being installed. I had to decide whether or not to cut the plywood panel so that it went to the outer edge of the front panel and then cut out the necessary piece so the grills would fit, or, to cut the panels back as shown and later install blocks to fill in the top part of the front panel. This is hard to explain, but will be more understandable when you see the photos coming up. Obviously I chose to cut the panels smaller and add the little blocks.
Tailboards and Side Enclosure Panels
Lining up the top bottom pieces is not as easy at it may seem. The original cabinets are not perfectly square, and that has caused a small bit of misalignment from the top to bottom panels. But we’ll make it work. Here you see the tailboards in place.
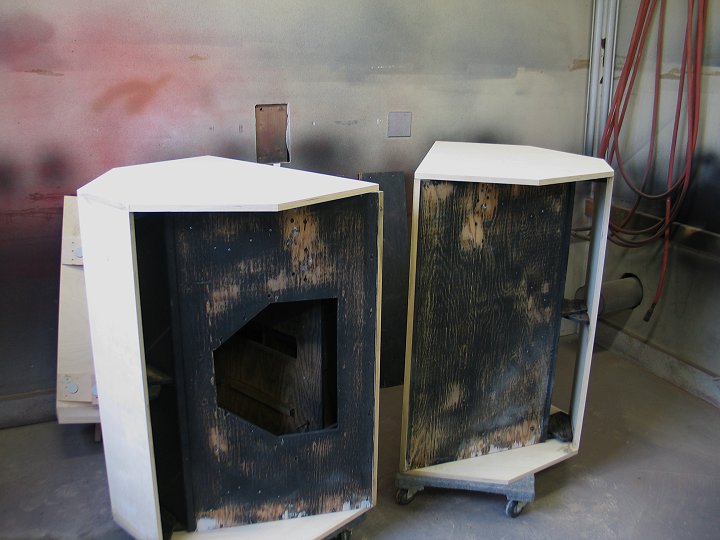
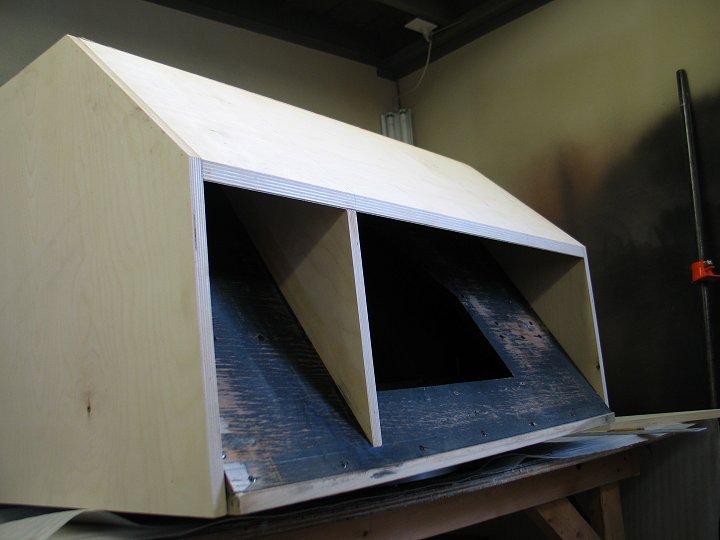
Note where the top/bottom panels stick out from the side of the cabinet. This is the profile of the final horn segment in that area. In other words, this is showing where the corner walls of the room would be, with the cabinets tight in the corners. The plywood that is sticking out gives us the shape and dimensions needed (template) for the braces that will be installed between the side of the cabinet and the new side enclosure pieces we are adding. Sorry I don’t have a picture of the braces, but in this next photo you can see the side pieces installed with one of the two braces that will be on each side of the cabinet. I glued all plywood with Premium construction adhesive, which is a polyurethane based glue that has a tenacious hold, as well as the ability to fill gaps.
As we’re doing this work, you can really feel the cabinets getting more ridgid, denser, heavier.
Tophat Pieces
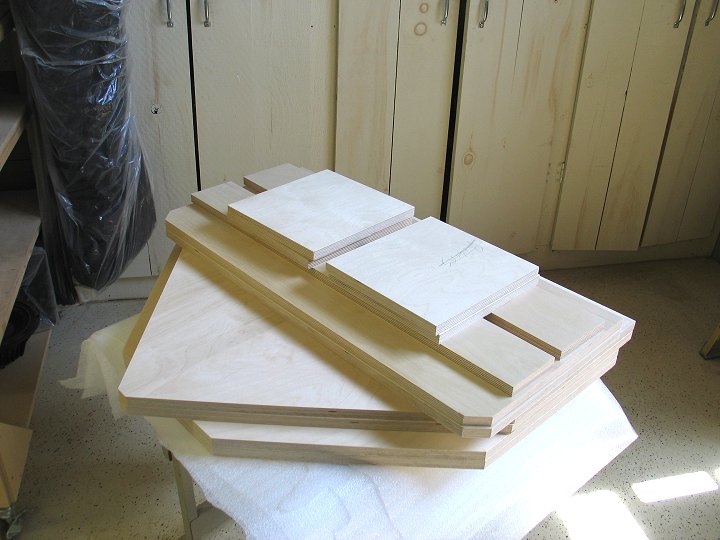
I also cut all the tophat pieces from 3/4″ Baltic Birch plywood.
Rosewood Veneer Begins
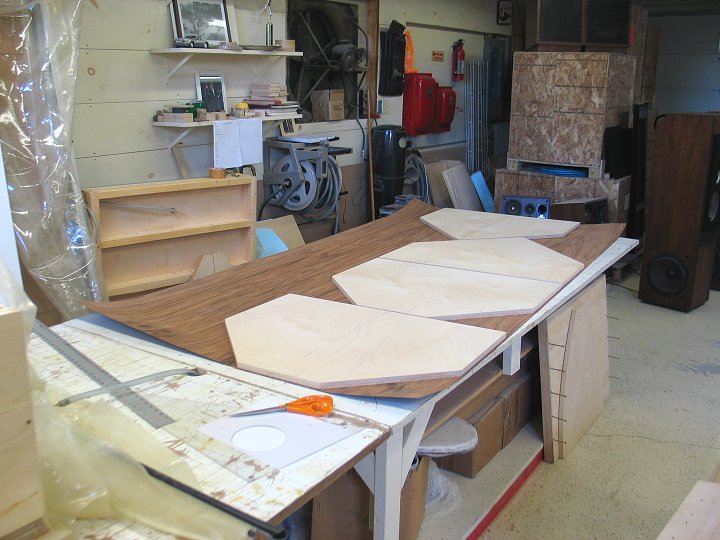
Starting the veneer now. I’m using a paper-backed, rosewood veneer that comes in 4′ x 8′ sheets. The supplier uses raw wood ‘leaves’ of veneer, he trims them, and then in a bookmatch pattern, joins them together and glues them to a paper backer. The sheets are then run through a sander. When I get the product, I have to figure out how to best use the veneer for the pieces I’m covering – always thinking about the ‘picture’ on the various panels of the speakers. Here’s a sheet being cut for the tophat pieces.
Smoothing Panel and Vacuum Bag
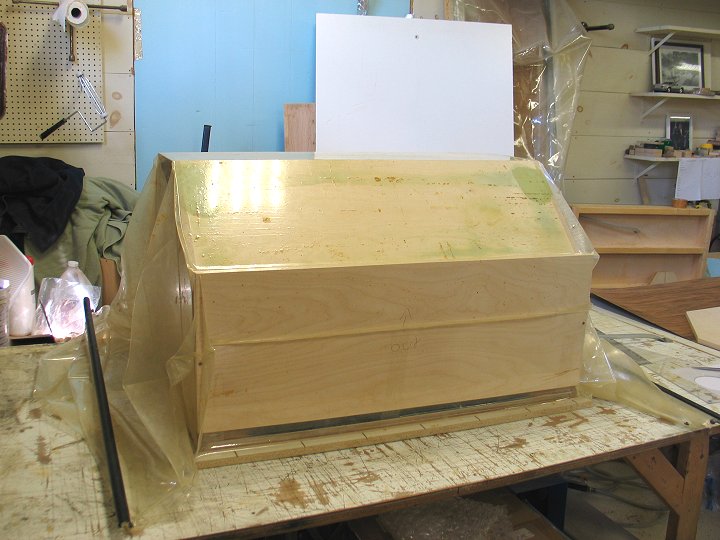
The modified Khorn bass horns, with their enclosed back cabinets, just barely fit into my 4′ x 8′ vacuum bag. In this picture, we are installing the front ‘smoothing panel’ of 1/4″ Baltic Birch plywood. The sides you see in the bag are pieces of 1/2″ Baltic Birch plywood that are being used to cover the side horn outlets of the bass horn. Later, these pieces will be used to cut the side grill frames.
Tophat Veneering Process
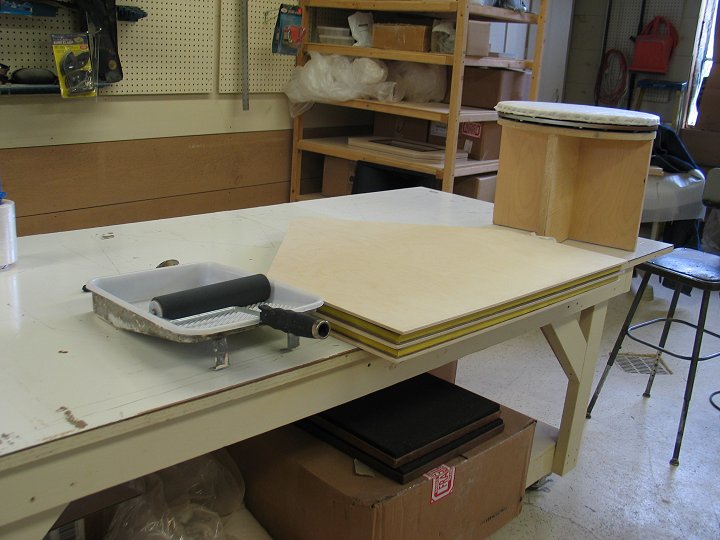
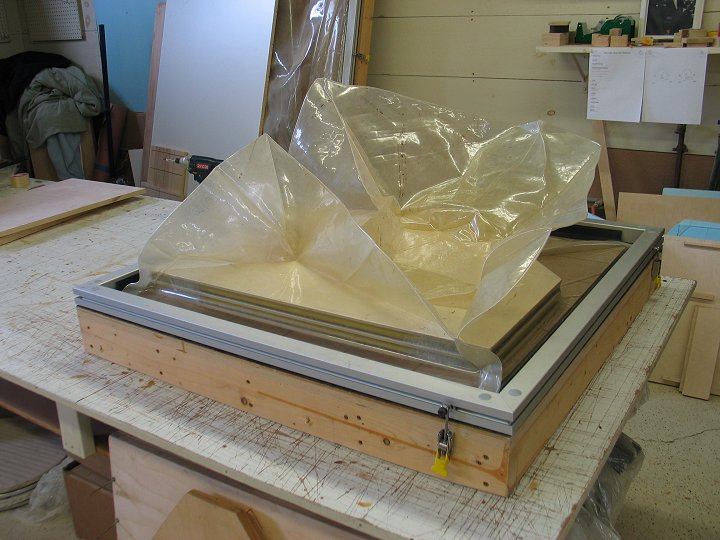
The next few photos show the process of veneering the tophat pieces. First, the tophat edgebanding is installed with the iron-on method. The edgebanding is trimmed and each side of the panel is sanded to prepare for installing the veneer. I use ‘cauls’ of 1/4″ Baltic Birch plywood, covered with a Mylar sheet. The cauls are placed on top, in between, and on the bottom of the panels, and the veneer sheet is in between the caul and the panel being veneered. The cauls distribute the clamping action of the vacuum bag, and protect the edges of the veneer that overhang the panel. The Mylar provides a smooth surface against the veneer, and makes it easy to clean off any excess glue that leaks onto the caul.
So, here’s a caul that has been sprayed with Spray 77 adhesive
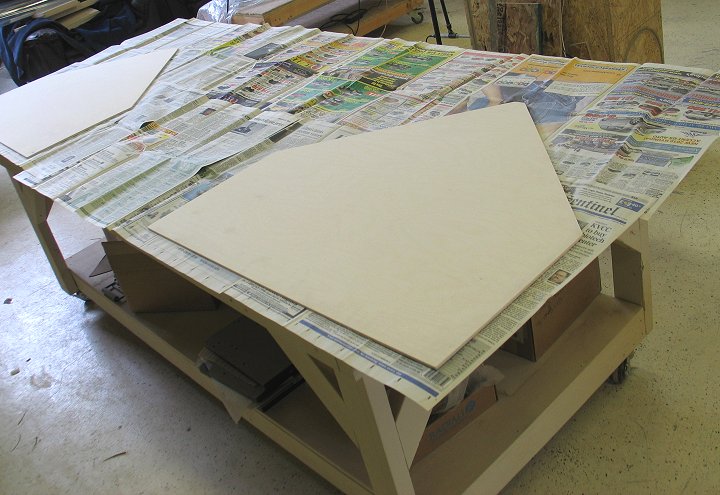
Here is the Mylar being installed
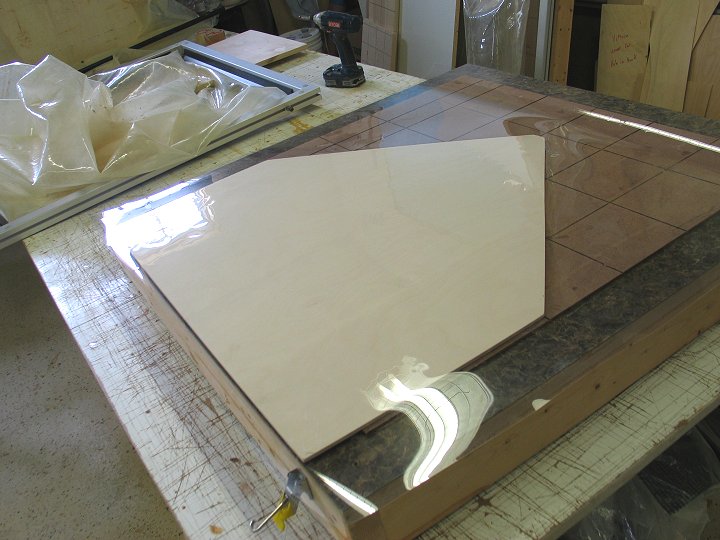
The veneer is taped to the caul with small pieces that just catch the edge of the veneer
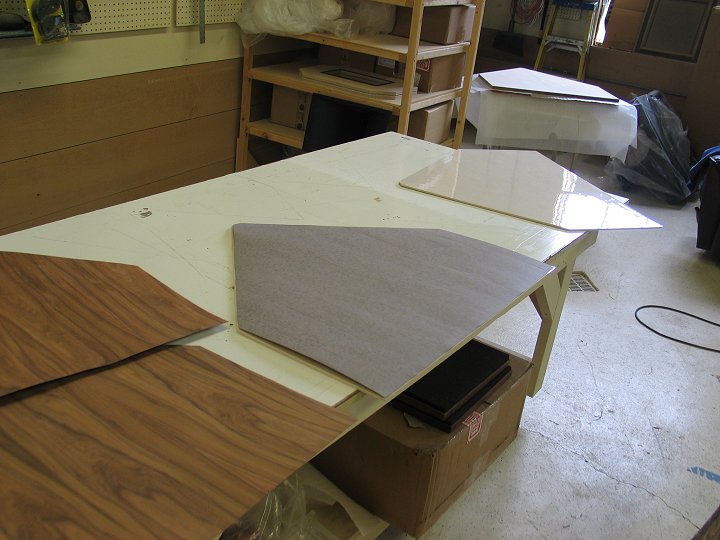
A ‘sandwich’ is made of caul/veneer/panel/veneer/caul/veneer/panel/veneer/caul. The middle caul is double-sided with Mylar. Two-part urethane glue is rolled onto the panels as this sandwich is made. The edgeband veneer has been taped to make trim-sanding and glue removal easier.
Now into the vacuum bag for five hours
And out come glass-flat veneered panels, ready for trim-sanding
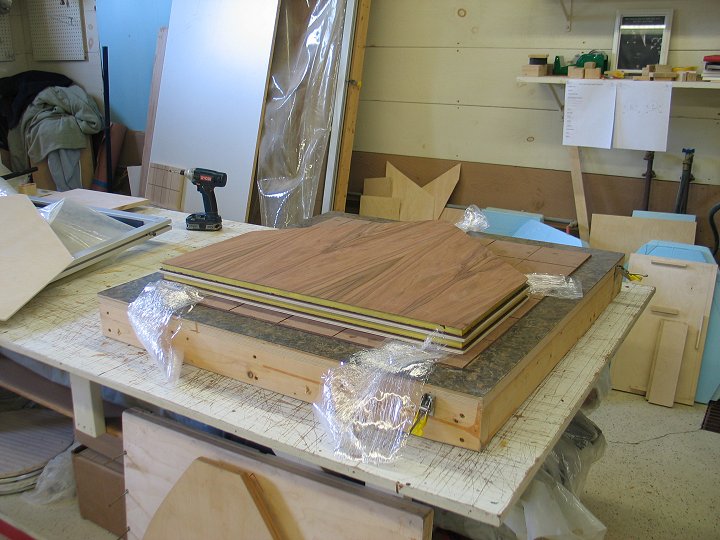
Cauls and Trim-Sanding
The cauls were made for the largest tophat panels – the tops, then cut down for the next size down – the bottoms, then cut again for the “B” panels, then a final time for the tophat sides and the pieces for making the “B” risers. If I was doing Khorns like this regularly, I would have cauls for each of these panels that I use over and over.
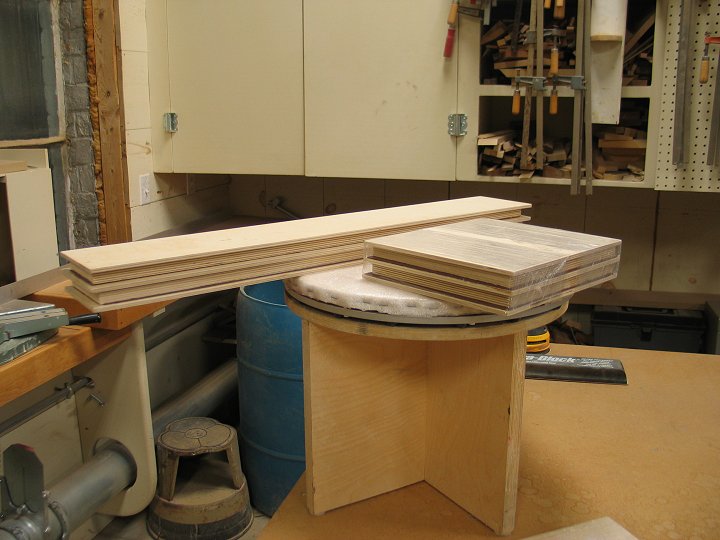
Here’s a panel that has been trim-sanded, ready for final sanding and detailing
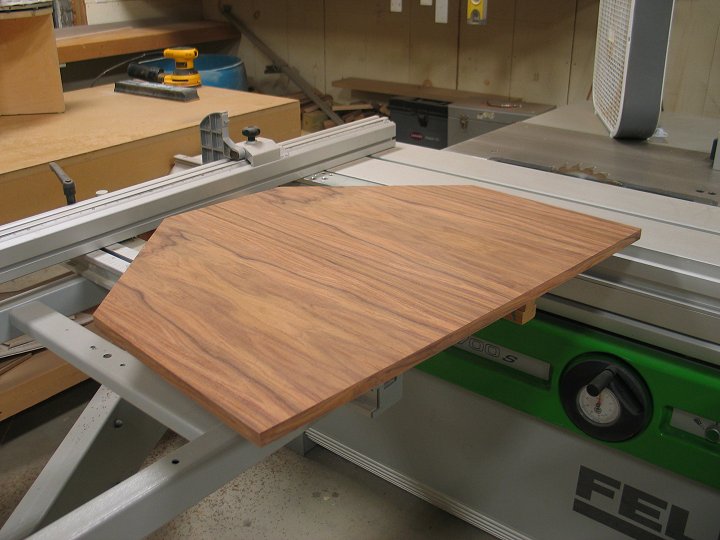
Riser Construction
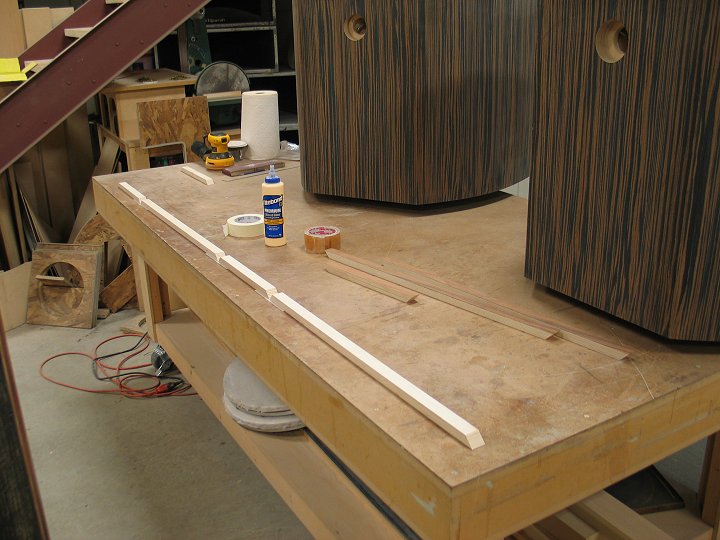
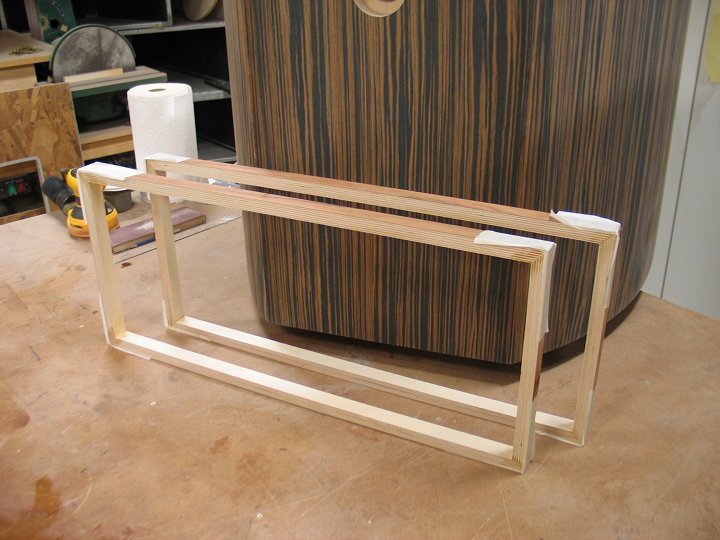
The next few photos show how the risers are made. I veneered pieces of 3/4″ Baltic Birch plywood and then ripped them down to 1″ side strips. I then use a jig that I made for my table saw, and with the blade tilted to 45 degrees, and each strip clamped into the jig, I get a perfect miter cut each time.
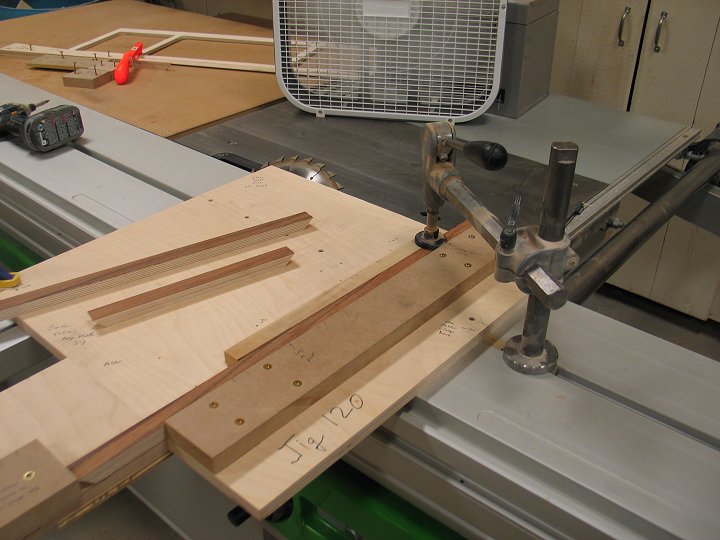
I then lay out the four mitered strips on a flat table and tape underneath where they join with masking tape
I glue the miters with Titebond glue and then fold the whole thing together. The corners are held tight with extra tape if necessary, and they are checked for square before the glue sets up.
Grill Frames and Paint Prep
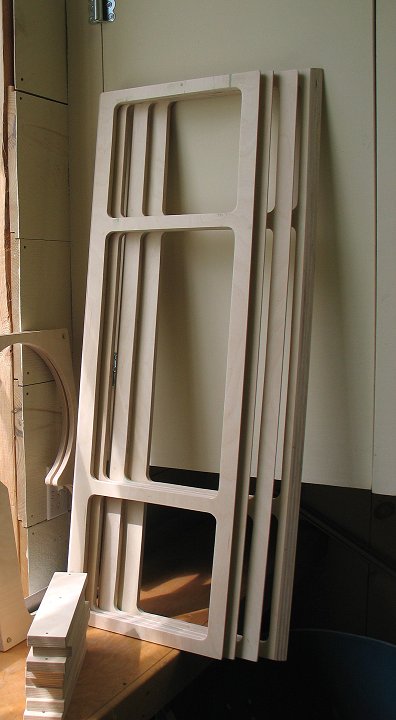
Bass horn grill frames ready for paint
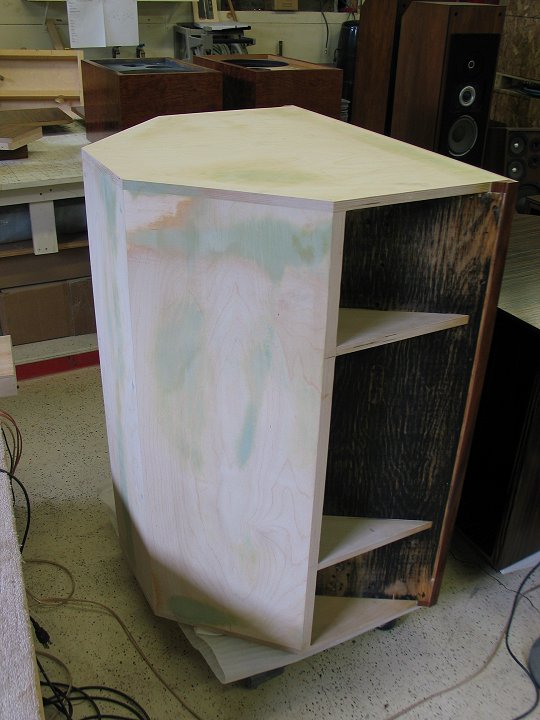
Bass horn carcuss ready for paint
Rosewood Lacquer Finish
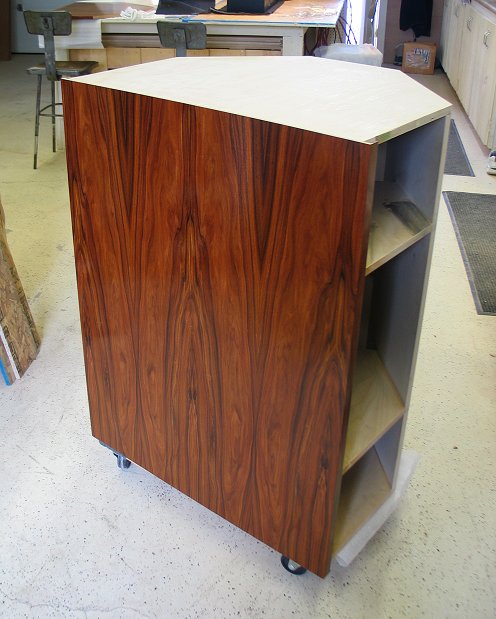
Beautiful Rosewood after second coat of clear gloss lacquer.
Finish Philosophy
Regarding the finish – when my customers approach their speakers, I want them to immediately recognize that it is real wood they are looking at. By using a satin lacquer finish that is not too thick, it allows the natural little imperfections of the wood, and the grain of the wood to come through just enough that it is immediately evident that the finish is real wood. A satin finish is not as ‘flashy’ as a gloss, so it does not distract from the wood as much. Contrast that with the perfectly glass-smooth, plastic-like coatings of thick, glossy lacquer that you sometimes see over wood, which to my way of thinking, don’t convey the essence of natural wood nearly as well.
So my final spray of finish is a satin lacquer, but I start with two coats of gloss lacquer. Lacquer starts out as a full gloss mix, and to make it satin, solids are added to the mix to tone down the gloss. Multiple coats of satin lacquer creates a build-up of those solids on the surface, which can dull the clarity of the grain lines and color of the wood. By using gloss for the first two coats, I am able to sand-seal and build up the finish without adding those solids, and after topping off with a satin, I end up with a finish that has good clarity, allowing the sharpness and detail of the wood grain to come through, with truer colors.
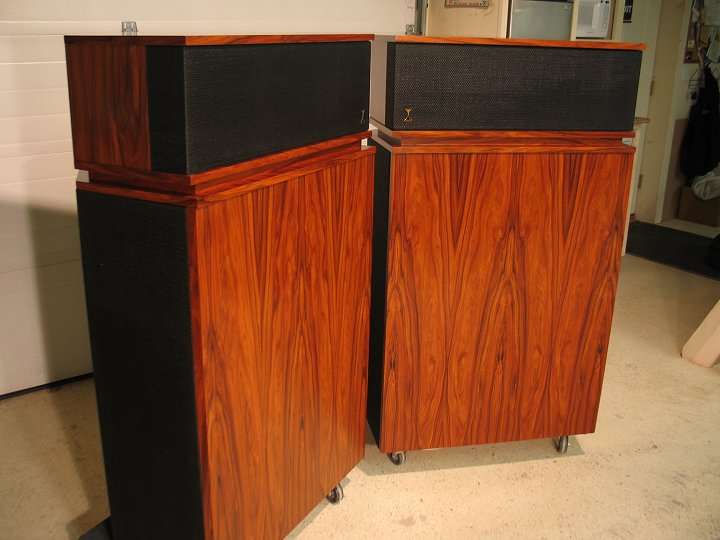
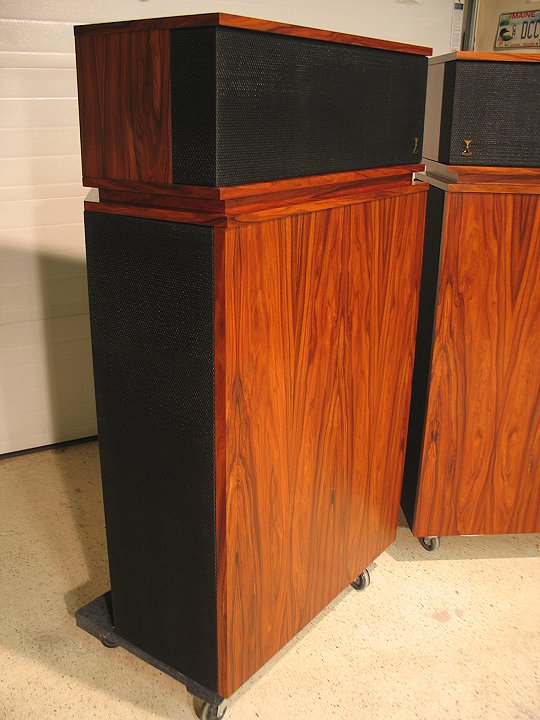
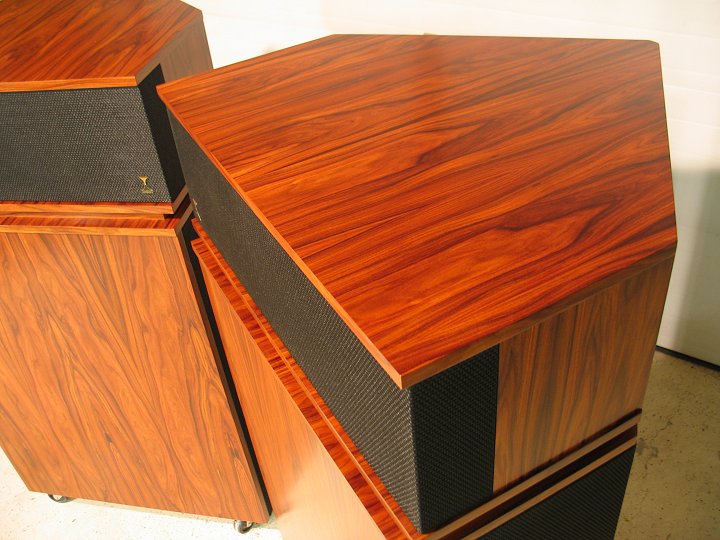
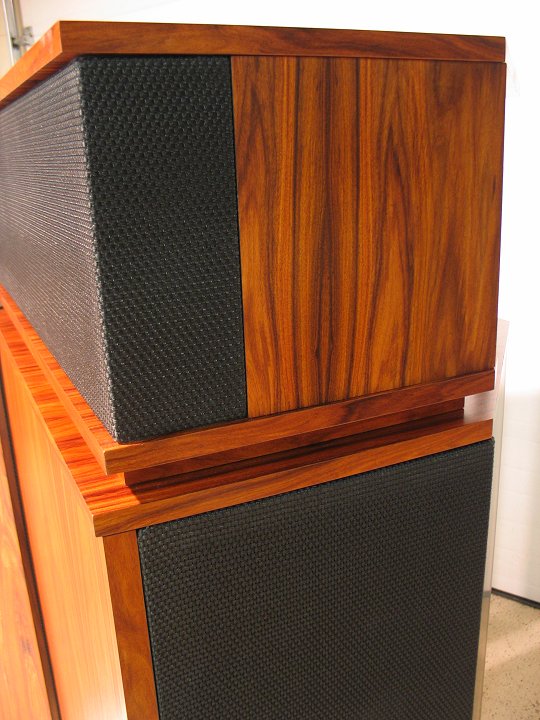
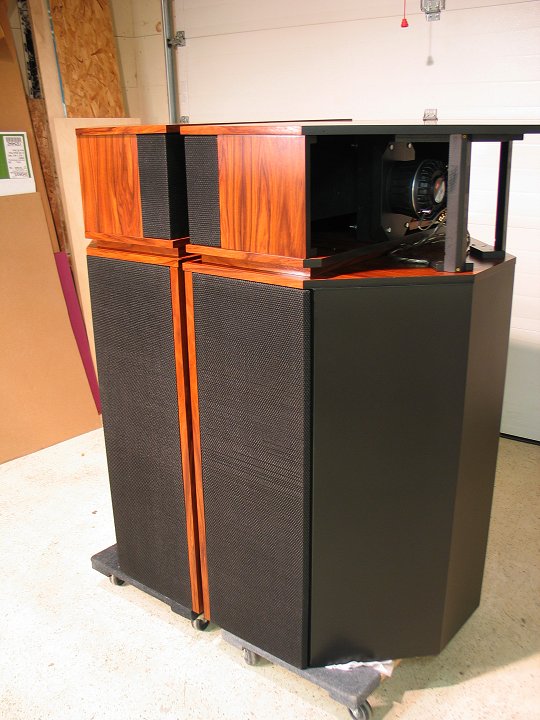
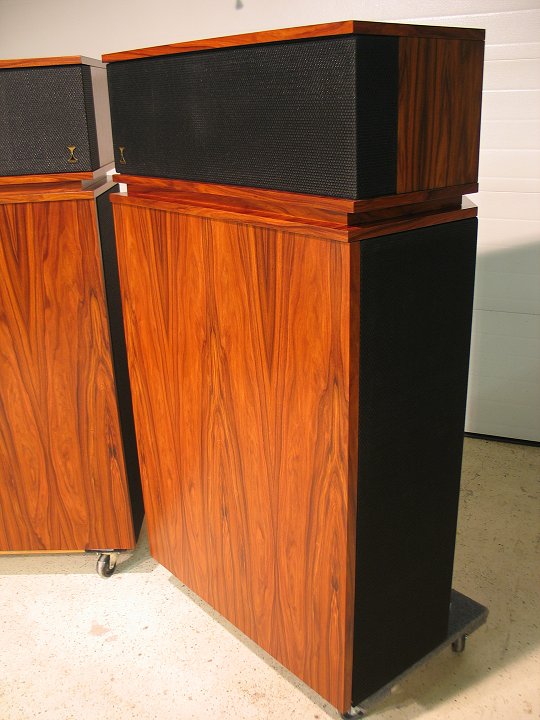
Finished 2015 Klipsch Khorn Restoration
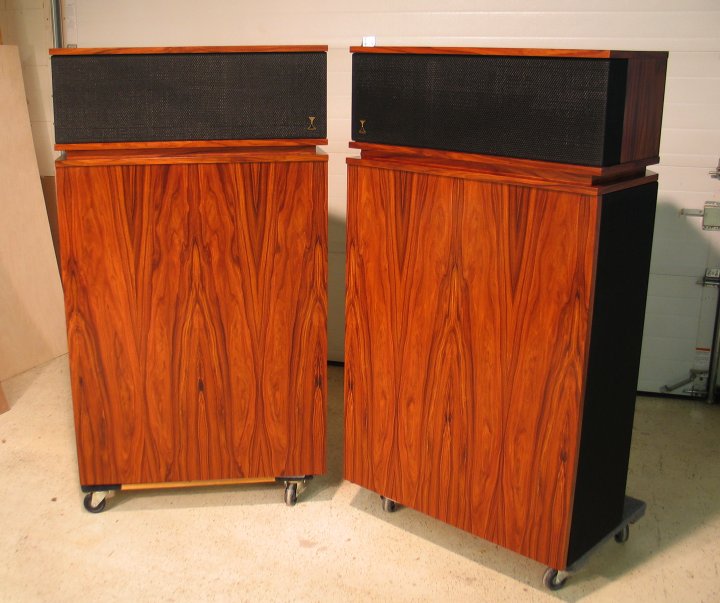
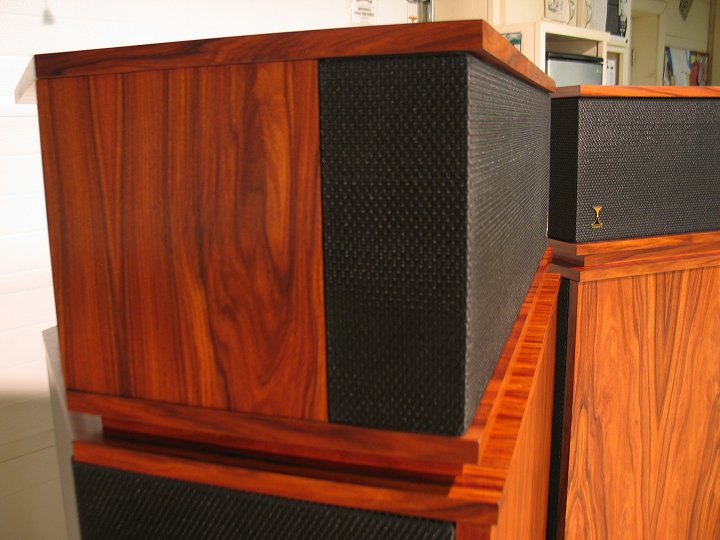
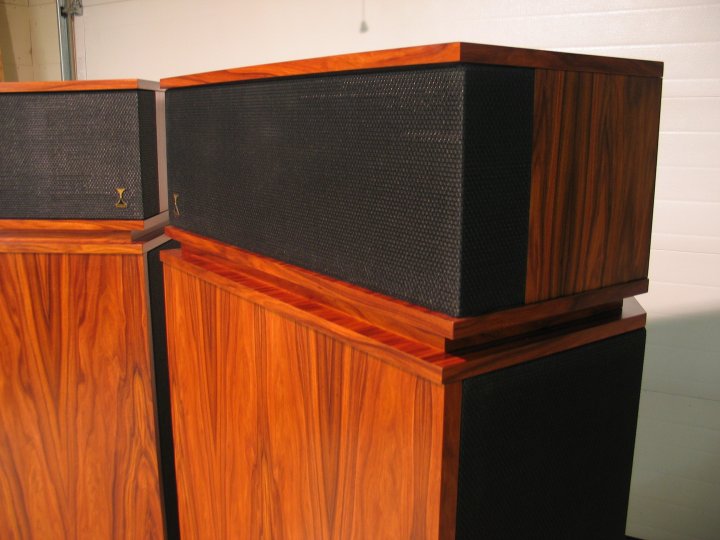
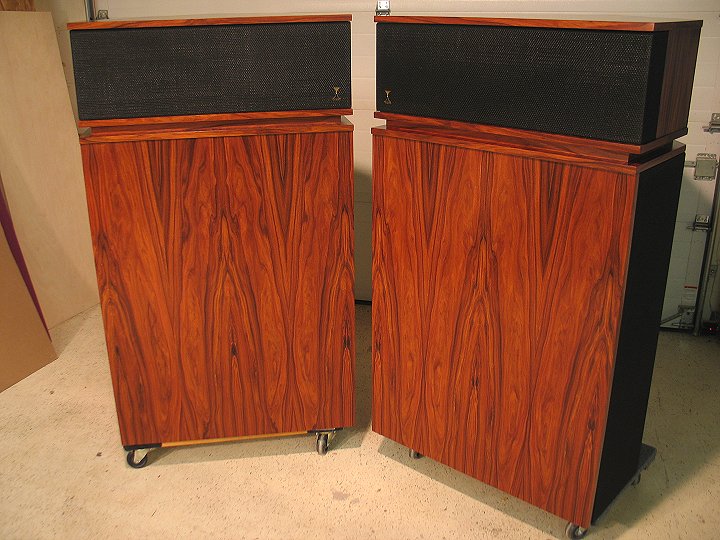
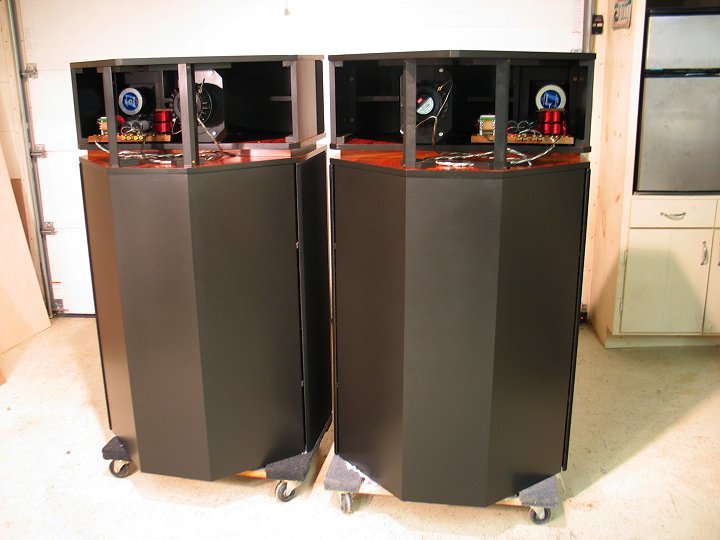
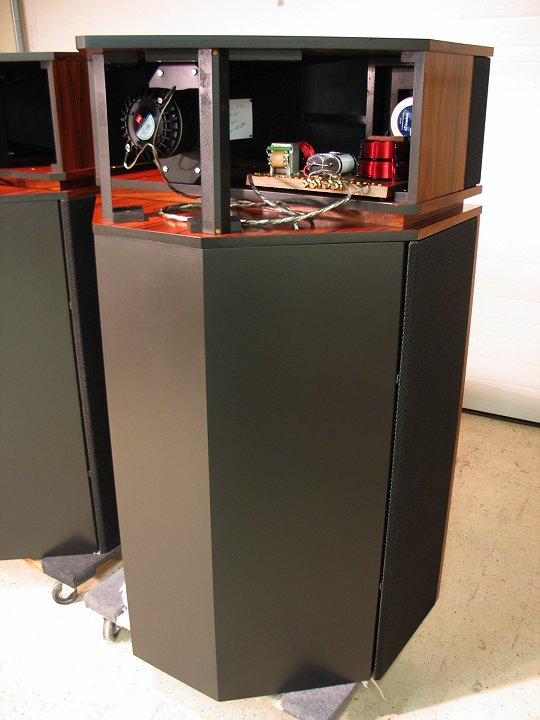
These very special Volti Khorns are finished now.
New Life for a Rough Set of Speakers
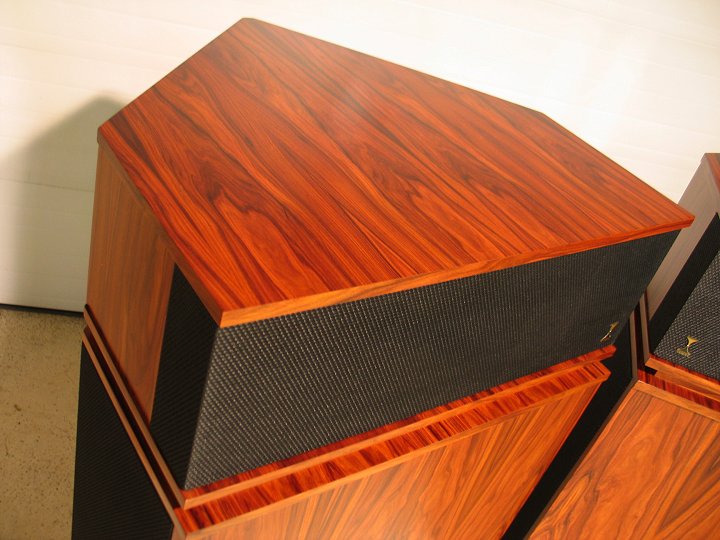
They started out as a very rough set of speakers, and they have been given new life to say the least. The new owner of these beauties will surely enjoy one of the nicest sounding pairs of corner horn speakers available anywhere at any price; and they will also enjoy the beauty and durability bestowed upon these iconic speakers during their complete restoration.
Restoration Reflection
I’m really glad I had a chance to do this project. I’ve been so busy with the new Volti speakers over the last few years, that I didn’t have time to do any more restoration work. This project reminded me just how much I missed it.
SOLD 7/4/2015
$13,500 plus shipping
The price includes a wood crate on a pallet for shipping.
We can arrange for world-wide shipping at very reasonable prices.
Features
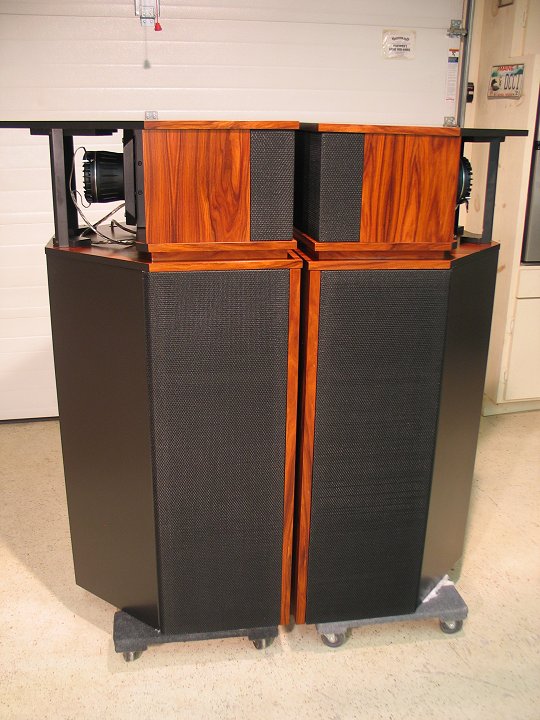
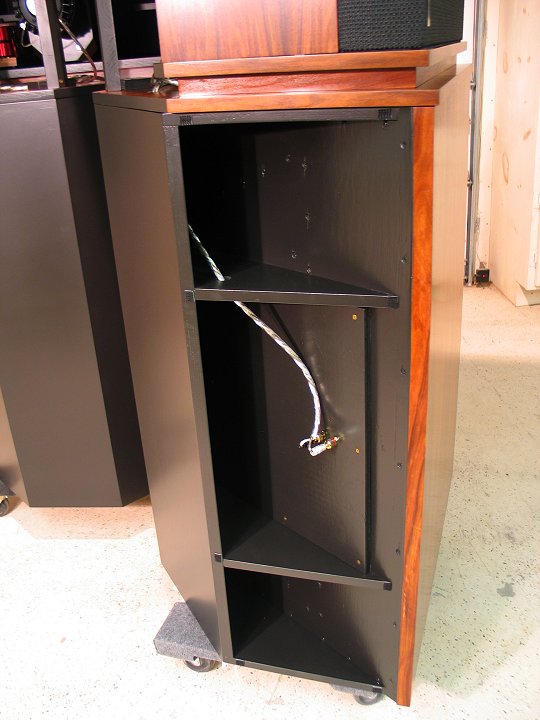
Enclosed backs with bracing – maintaining full horn size
Added thickness to bass horn cabinets
New Tophat cabinets
All new and added plywood is Baltic Birch
New Premium Rosewood veneer, picture-matched, applied in a vacuum bag
Medium-rubbed, catalyzed clear lacquer finish
Black lacquer paint, all panels and inside back areas finished
New bass horn grill frames – all new #7 Klipsch black cloth
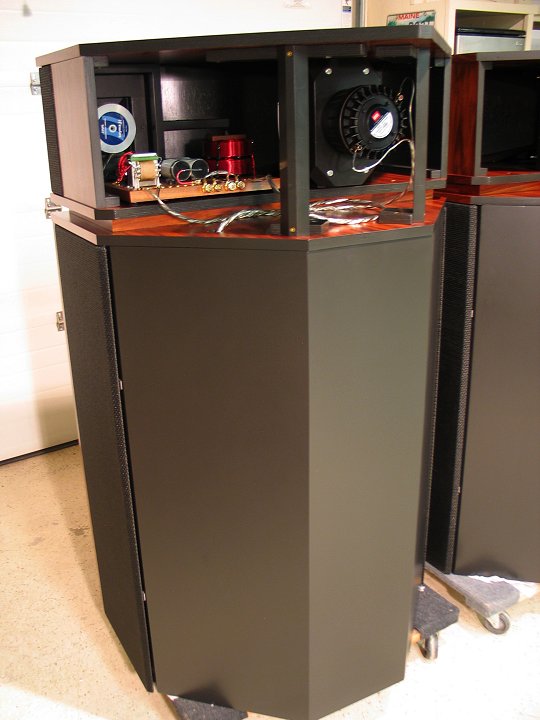
New Crites, cast-frame woofers
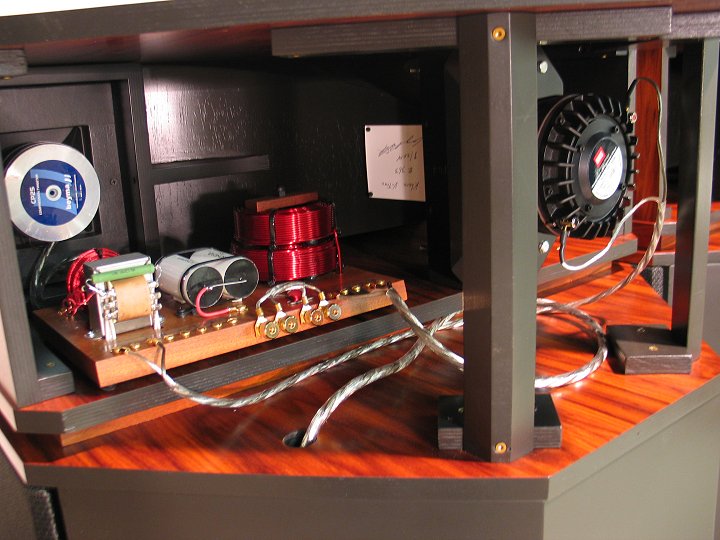
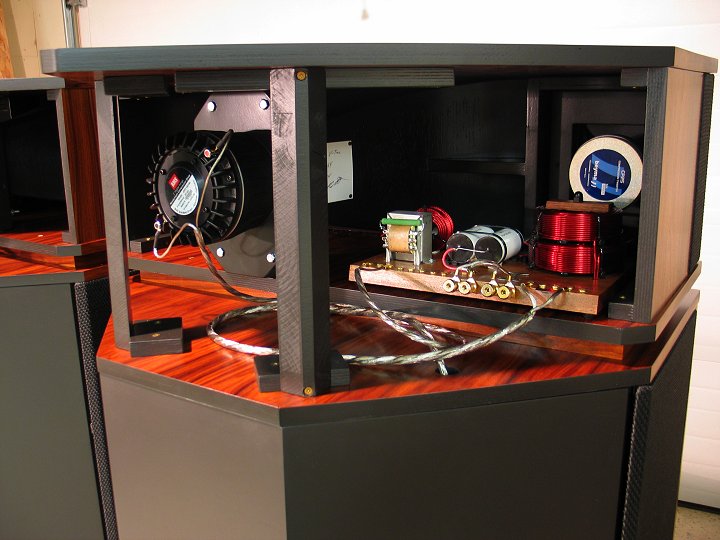
New Volti Audio Fc260, Tractrix, wooden midrange horns, 2″ throat
BMS 4592, 2″ outlet midrange drivers
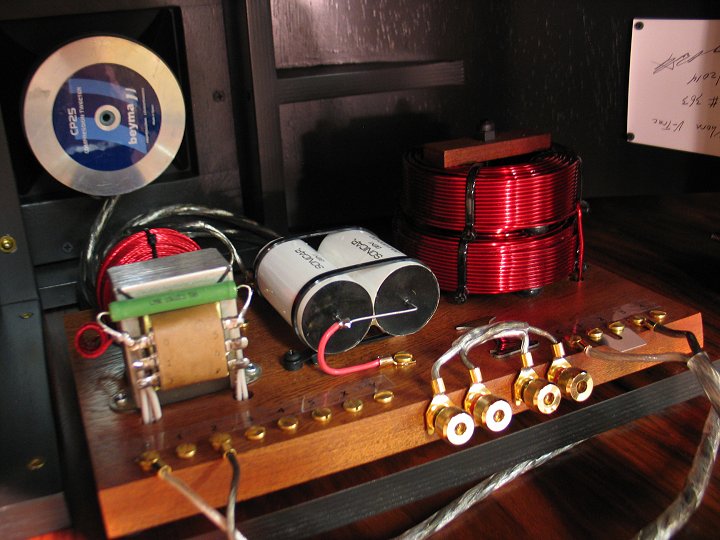
Beyma CP25, 1″ outlet tweeters
Volti Audio VTK400 crossover networks
New internal wiring
Sound Description
These speakers maintain the classic horn attributes that we’ve all grwon to love about the old Klipsch speakers, but the vices that plague the old design have been reduced dramatically, leaving a sound that is smooth, cohesive, and effortless. Tucked in the corner of your listening room, these modern horn speakers will provide you with an enveloping sound that would be hard to replicate at any price.
The beefed up cabinets and enclosed backs of the bass horns have much better upper-bass definition and accuracy as compared to stock, open-backed Khorns. The bass horns integrate much better with the midrange horns, and the clean and accurate upper-bass, along with the smooth low-midrange from the big, wooden Volti midrange horns, brings music to life in a way you’ve never heard in any other Khorn system. These truly are among the top of the best sounding Khorns in the world.
Final Photo Gallery
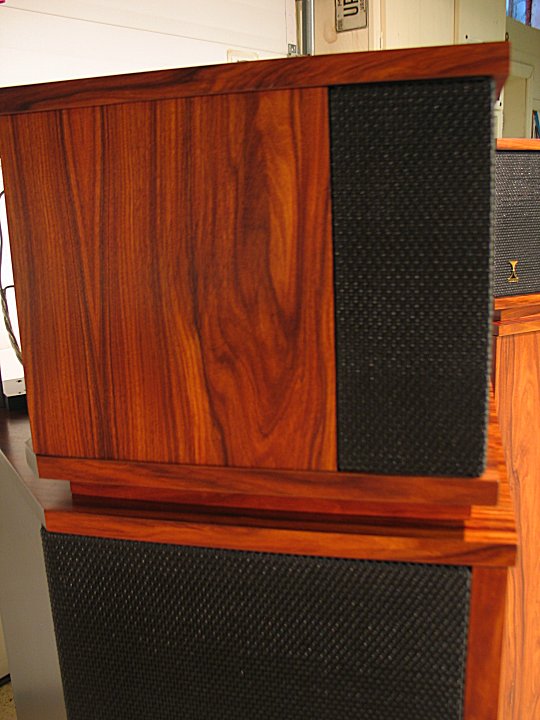
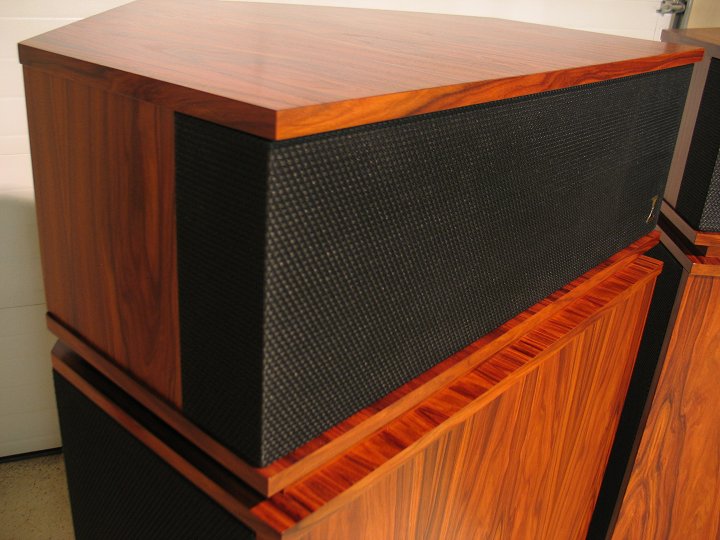
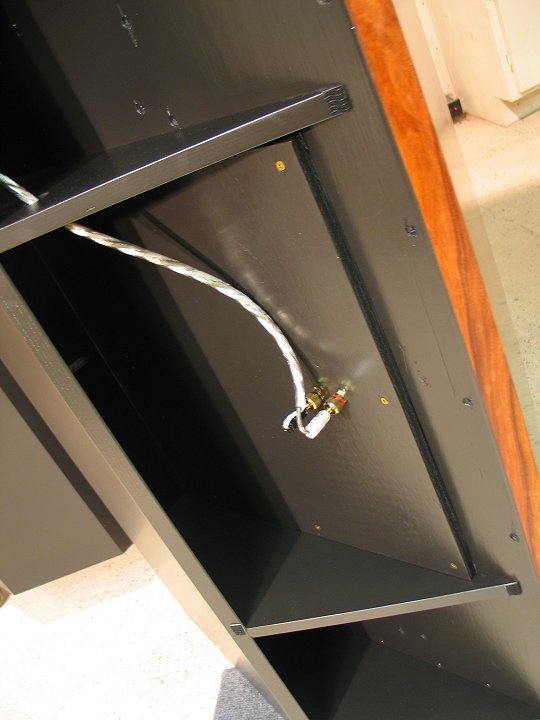
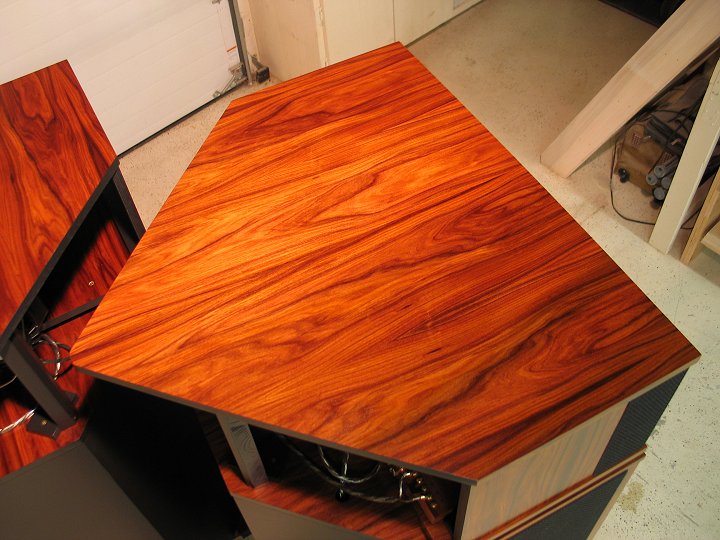
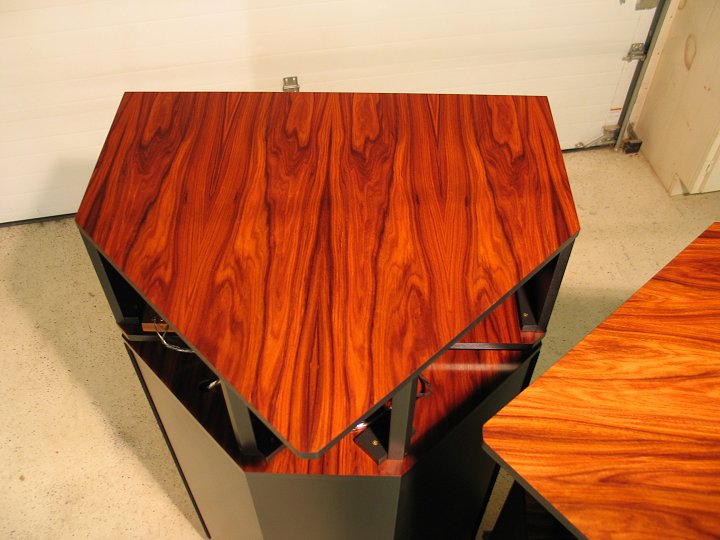
Here’s the rest of the photos.
Thank You
Thank you to everyone who emailed to say how much they liked the work I did on this restoration project. I really appreciate the support.
Greg
SOLD 7/4/2015