
RESTORATION PROJECT
2020 La Scala Restoration
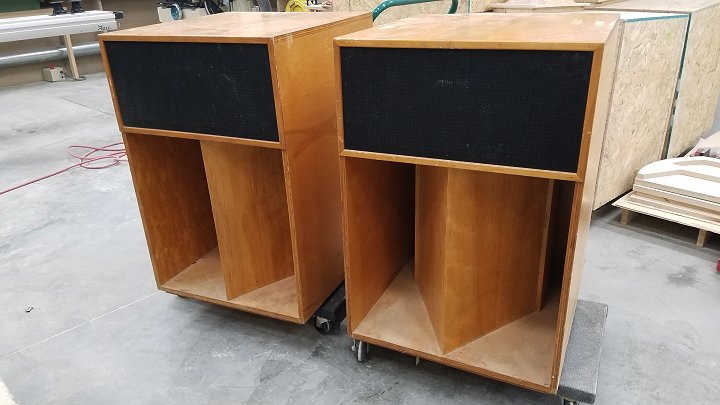
An old pair of La Scalas in need of help
Working with a limited budget, I’ve been hired to make these old La Scalas beautiful again. I’ll do my best.
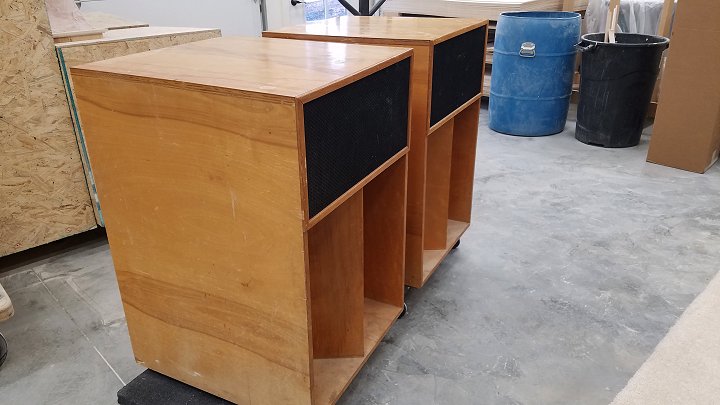
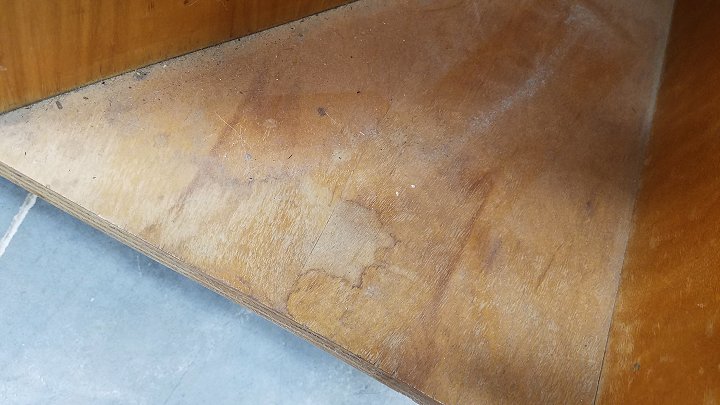
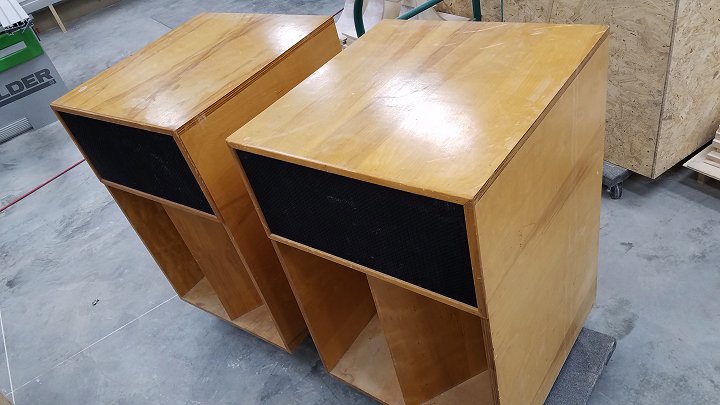
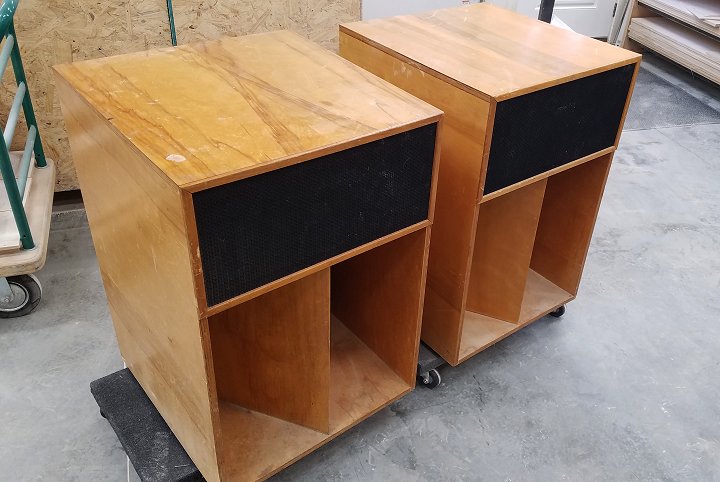
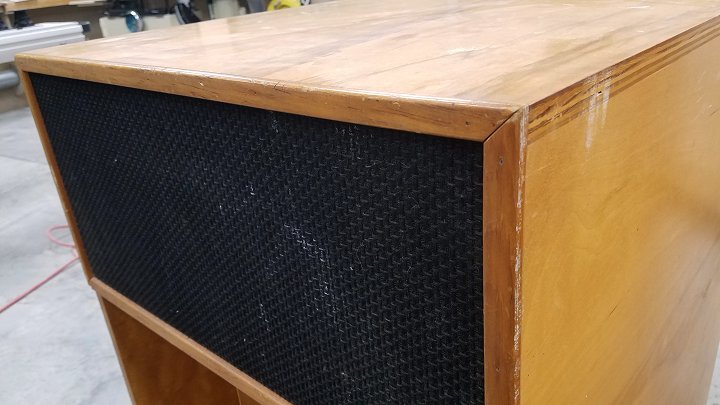
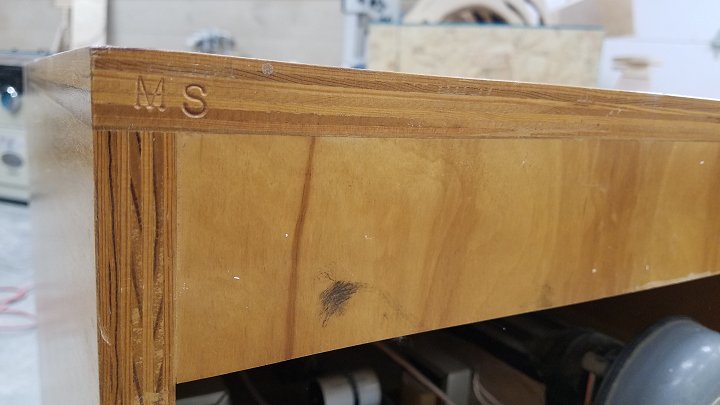
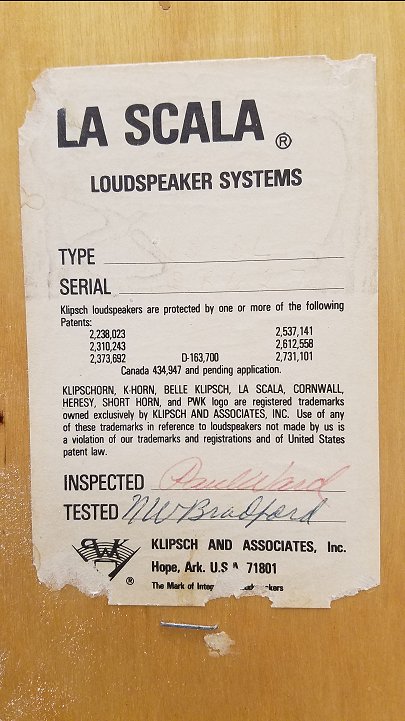
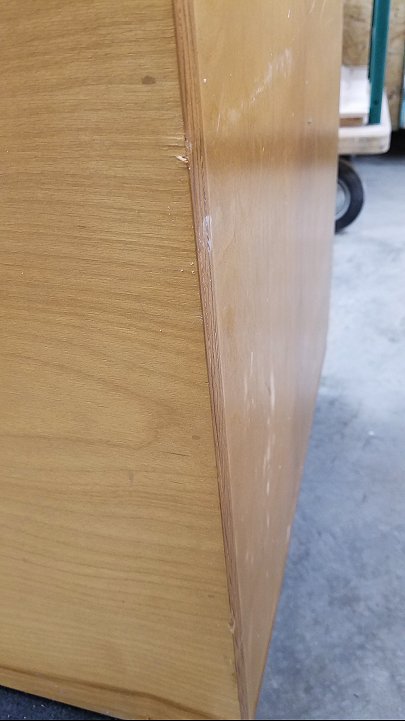
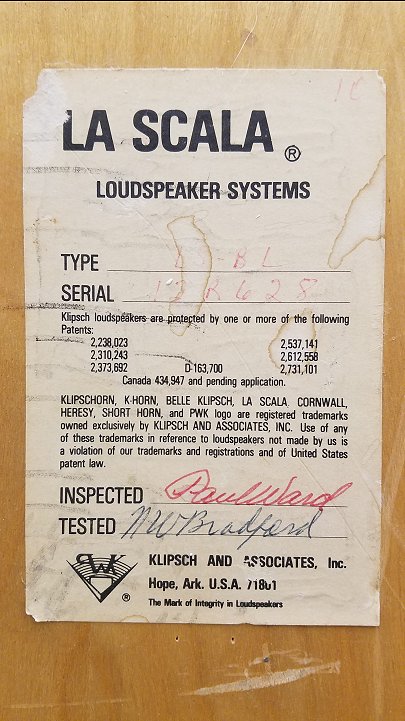
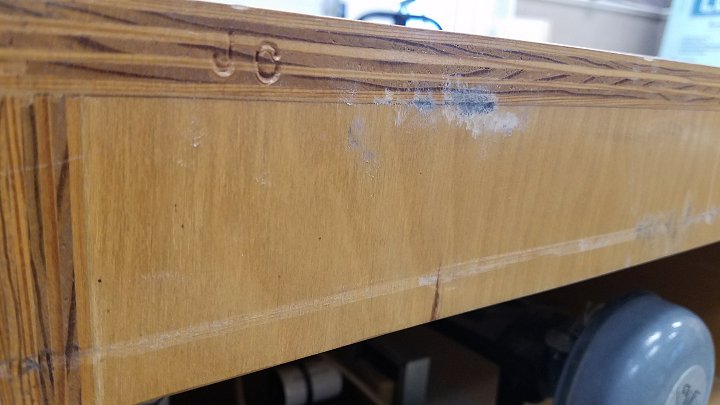
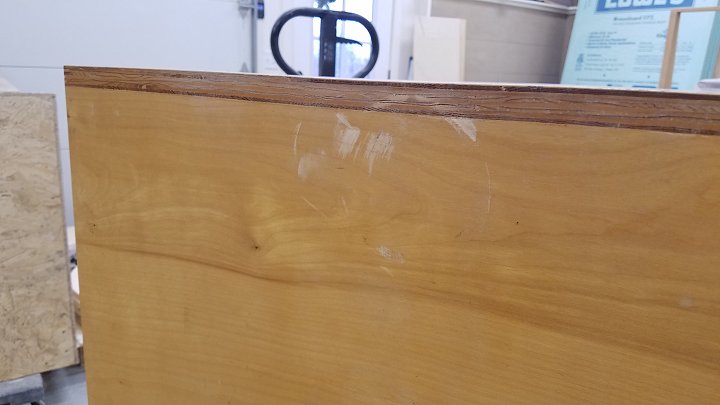
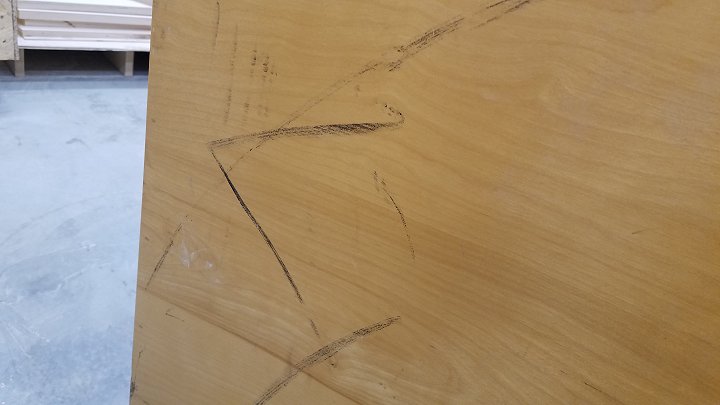
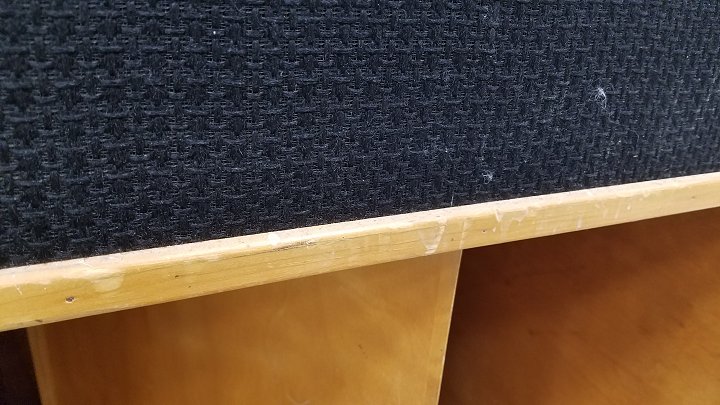
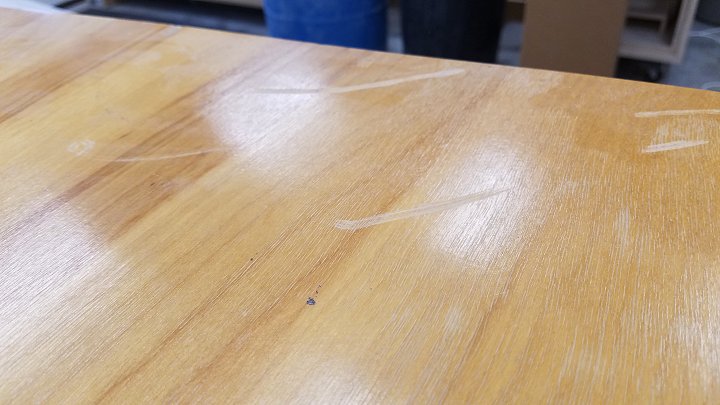
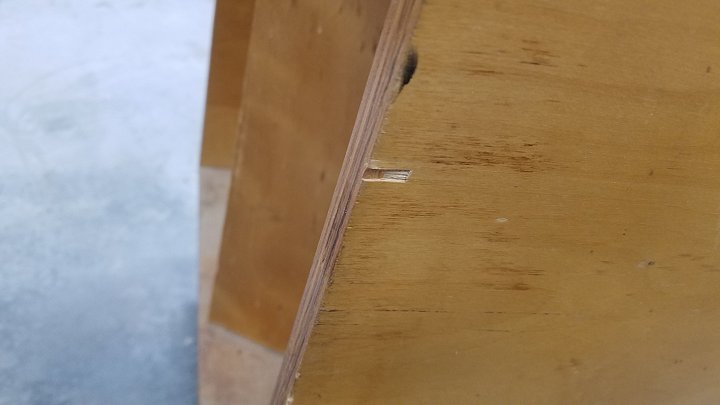
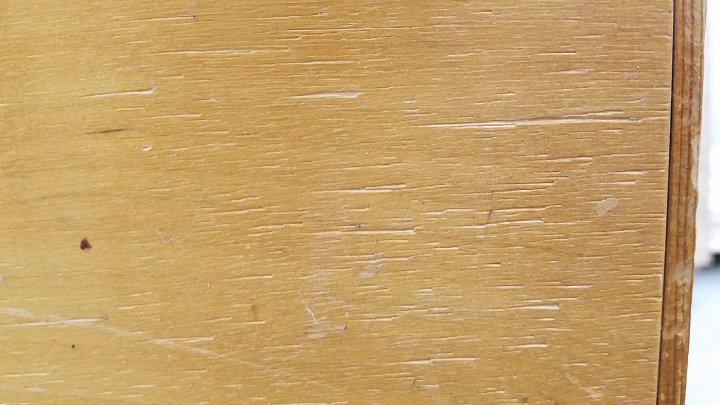
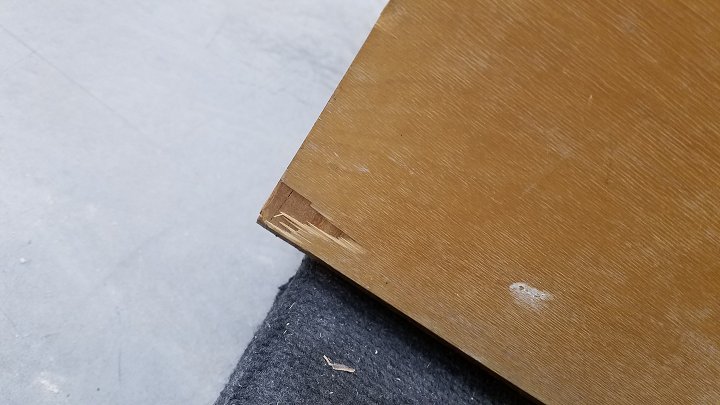
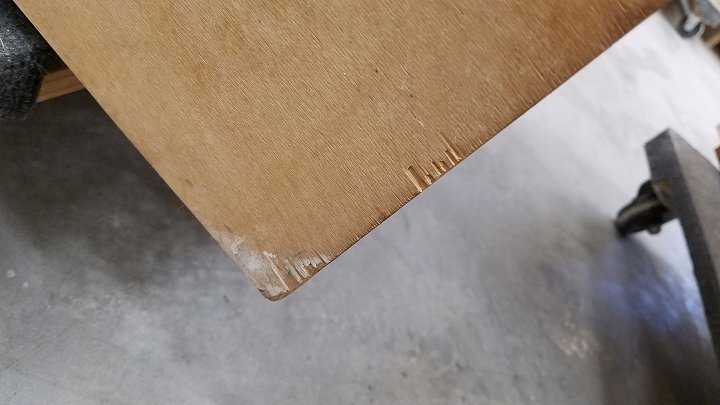
My customer bought these new in 1977 and as you can see in the photos below, they’ve been through a lot of moves over the years, and sustained a lot of damage.
La Scala Restoration Before Shots
Here’s the before shots:
Component Removal
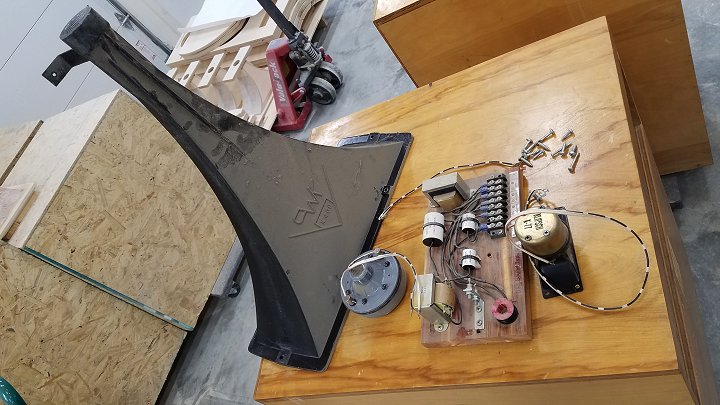
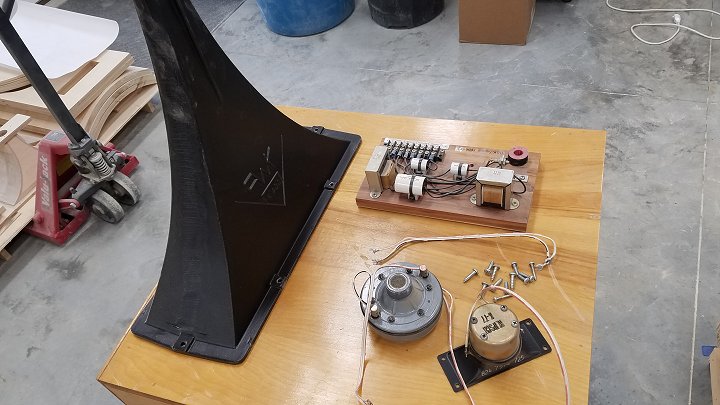
So now the work begins. First thing to do – remove the components. We are not making any sonic changes to this set of LS’s and all the stock components will be re-installed after the cosmetic work is done.
Grill Cloth and Bottom Panels
Next – remove the old grill cloth and trim
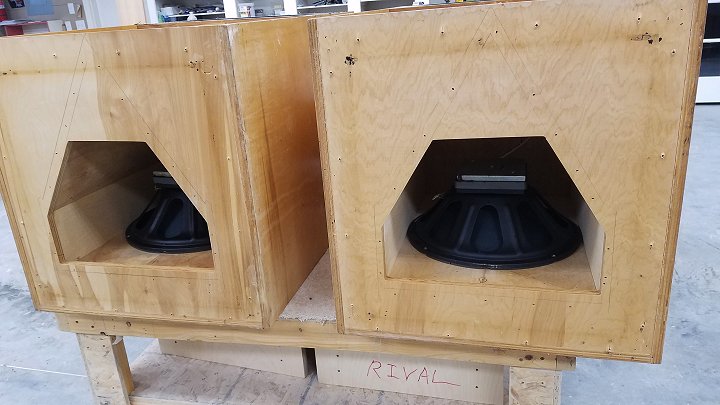
and the bottom panels
Cabinet Repair and Prep
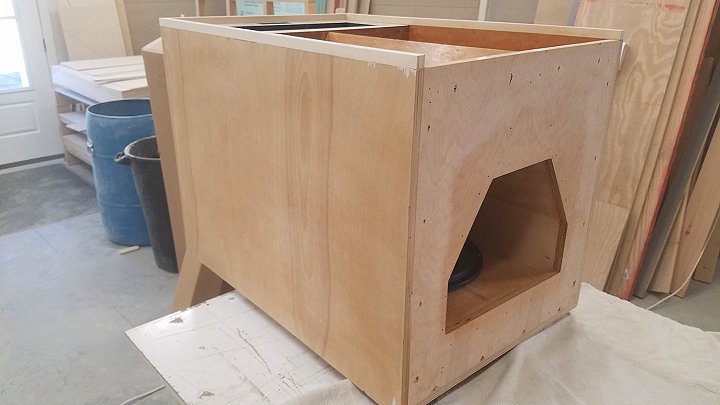
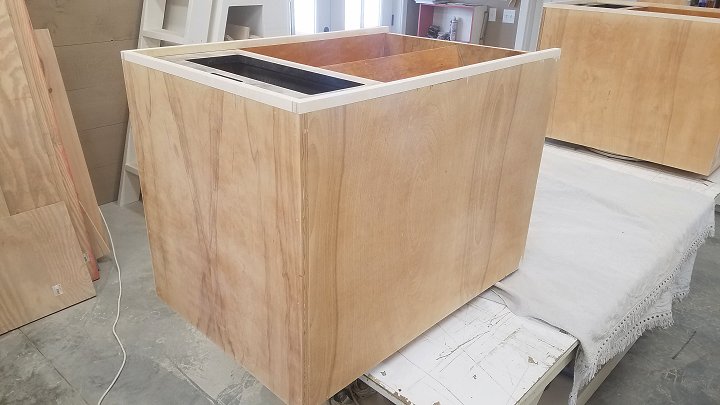
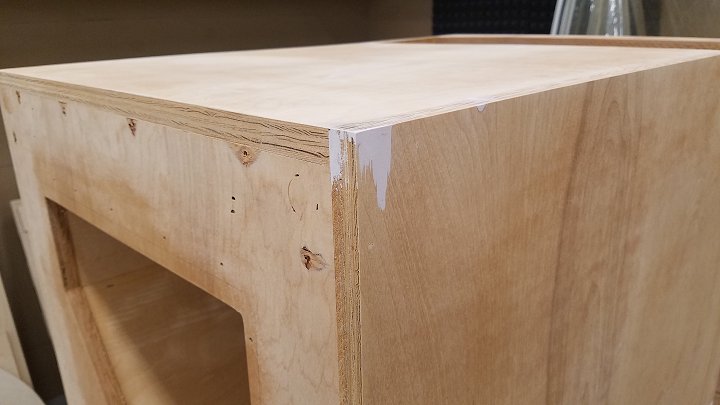
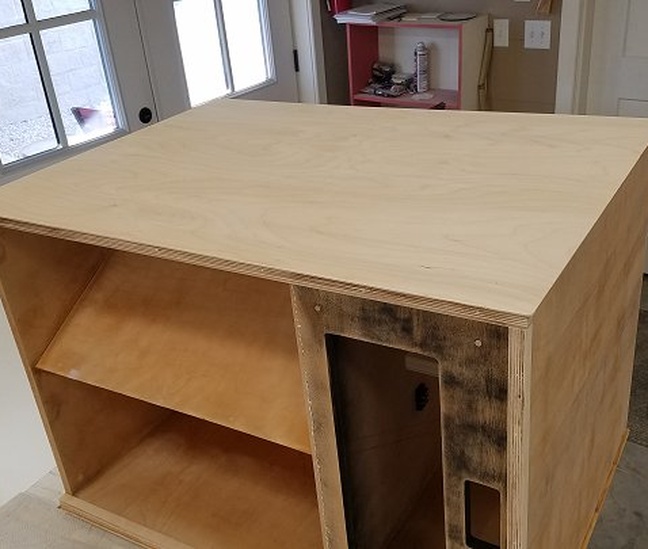
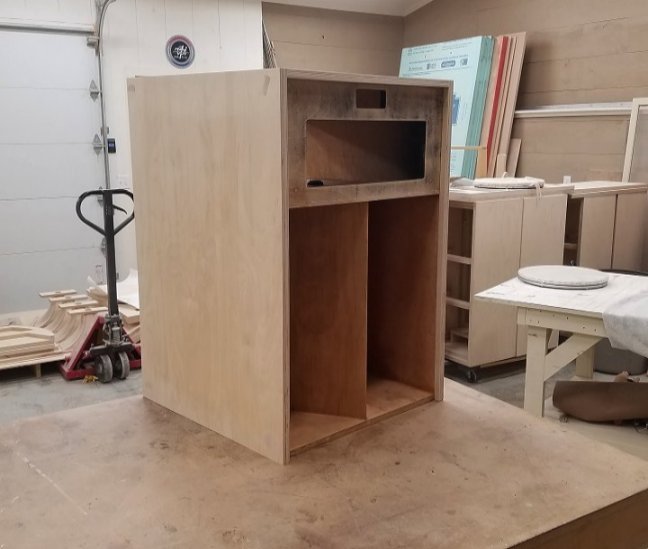
Next up is to sand and repair the chips, loose plywood, dents, and scratches to prep the cabinets for veneer. You’ll notice that I added a bit of plywood around the front edges. This allows space for the new grill frames that I’ll be adding. I like the grills to be flush with the front of the speaker, not sticking out. The factory simply painted the fronts, stapled grill cloth to the front of the cabinet and then put some cheap trim around the edges. I think we can improve on this.
Smoothing Panels and Vacuum Bag
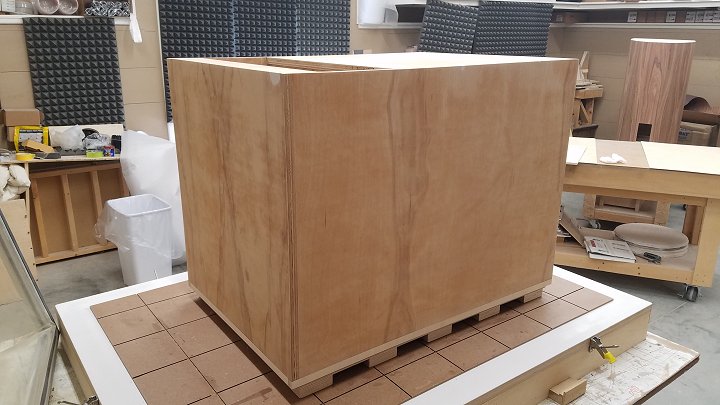
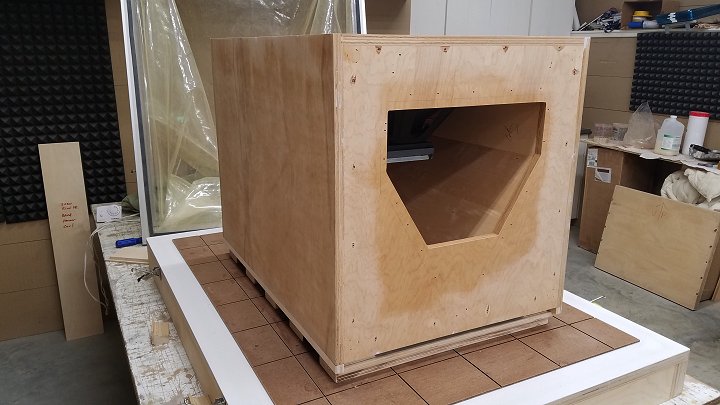
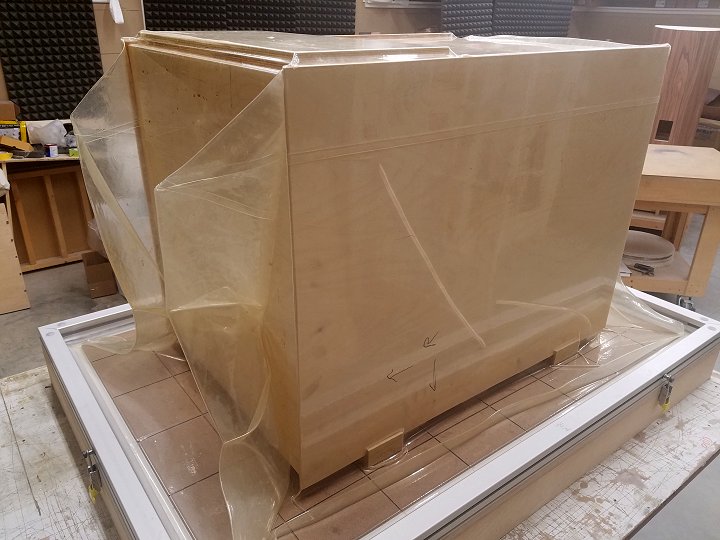
I’m installing 1/8″ thick Baltic Birch plywood panels on the sides and top of the cabinets. I call these ‘smoothing panels’, and they are used to span joints and repairs on the cabinet that would otherwise ‘shadow’ through the finish at the end. The cabinets were built with butt-joints, and then the wood that I added to the fronts creates a joint as well. The added thickness to the cabinet sides will help tame the known resonances.
The smoothing panels, as well as the new veneer, will be installed using a vacuum bag. Vacuum bags exert a huge amount of clamping pressure on all of the cabinet surfaces evenly, so it is very important to brace the cabinet inside and provide a good support for it while under negative pressure, otherwise some very interesting things happen! I built a ‘sled’ for the LS cabinet to sit on, which also provides bracing to the sides so they are not crushed in.
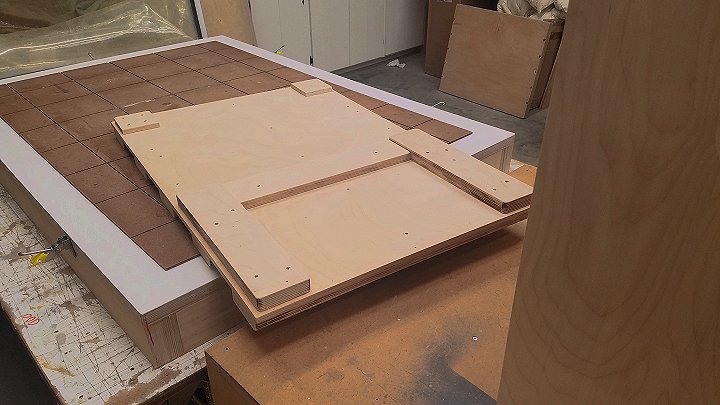
Here’s what a cabinet looks like in the vacuum bag
Anigre Veneer
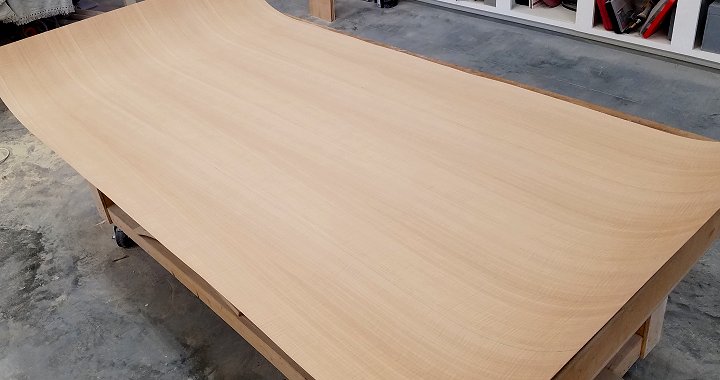
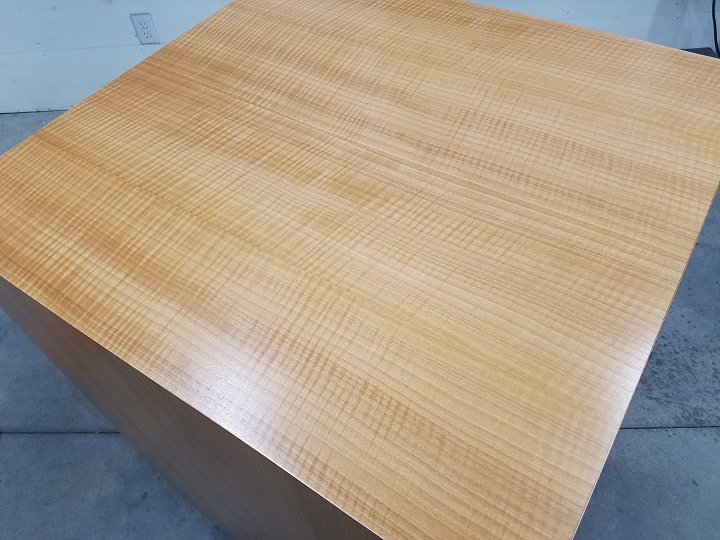
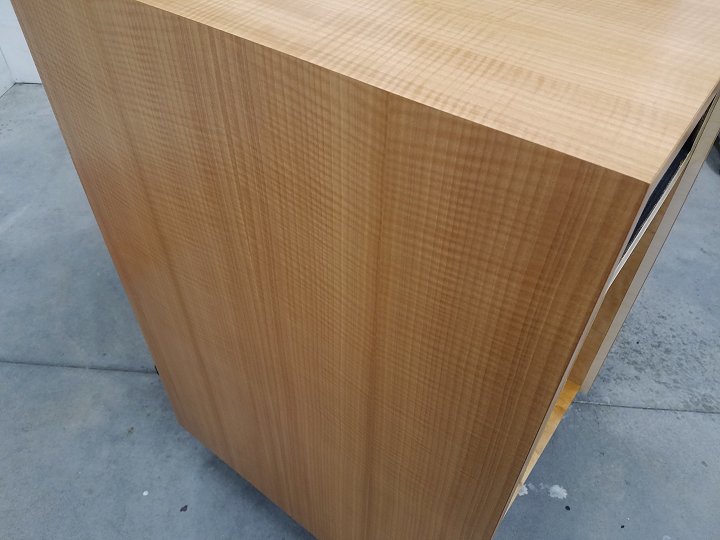
The veneer is Anigre, which is a very light colored wood. This one has some beautiful figuring in it – I’ll get some better photos of the veneer when the finish is applied.
Magnetic Grill Frames
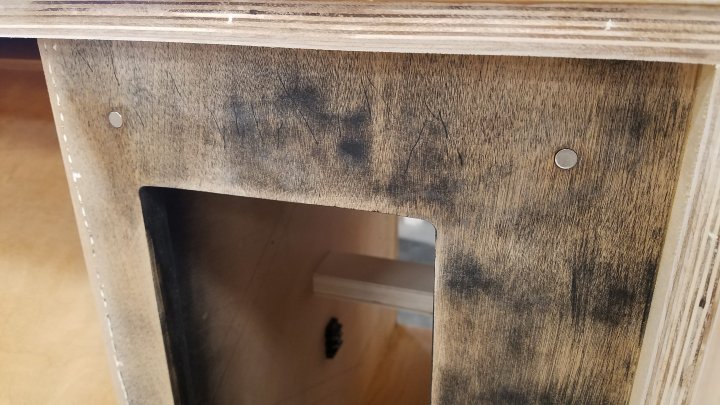
The new grills will have black cloth and will be held in place with magnets. Here’s a picture of the magnets installed in the upper cabinet.
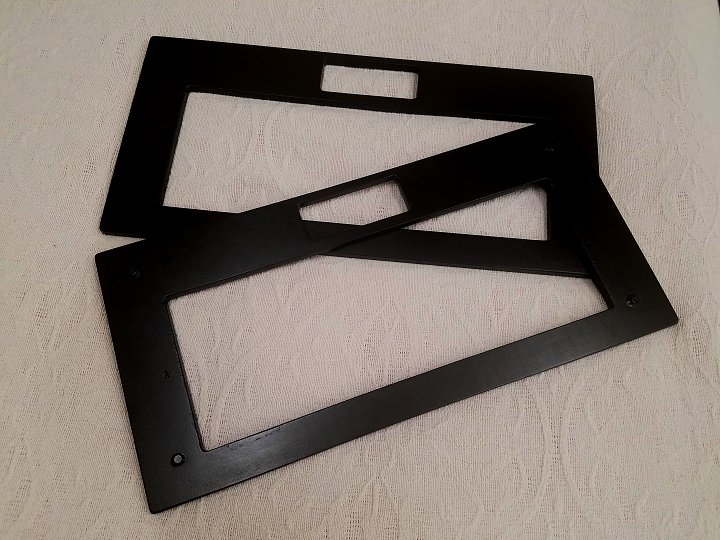
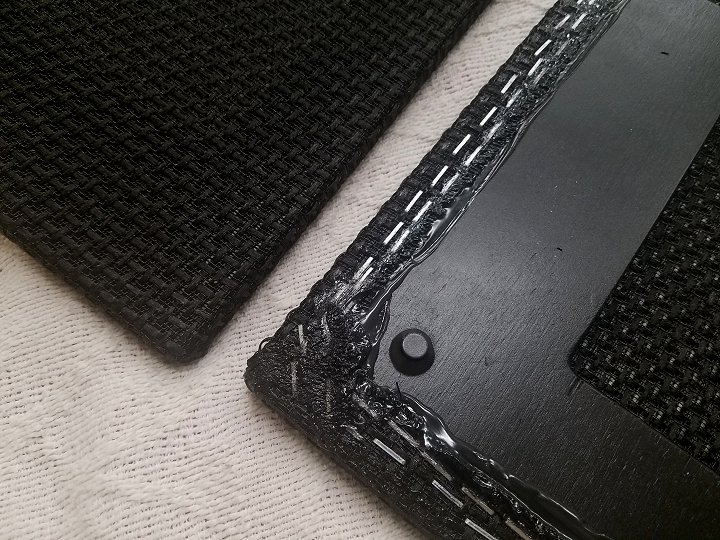
The grill frames painted and ready for cloth
The grill frames with cloth
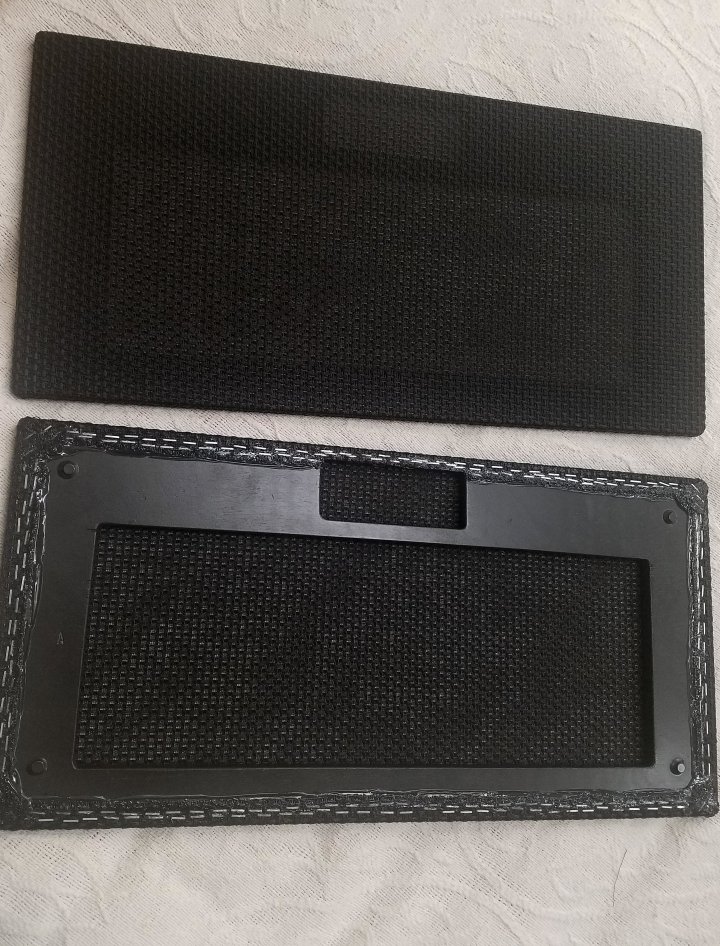
Note the cauterized (with glue) cut edge of the fabric
Veneer and Lacquer Finish
Here the cabinets have the veneer installed, sanded, and in the paint room ready for the lacquer finish.
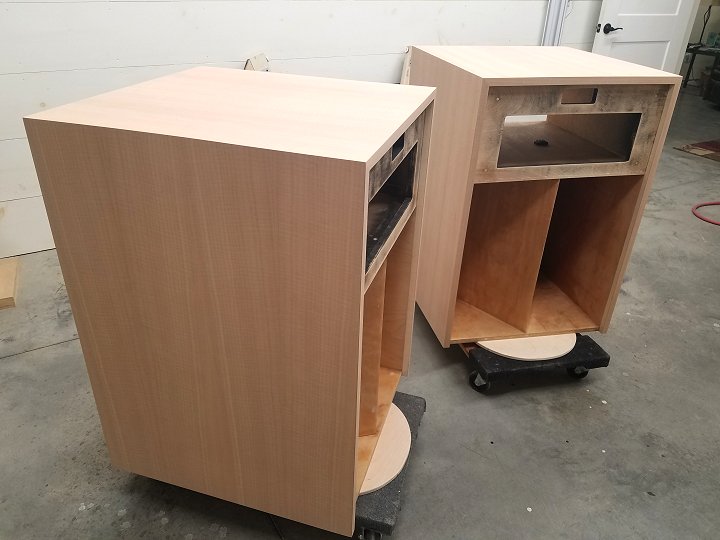
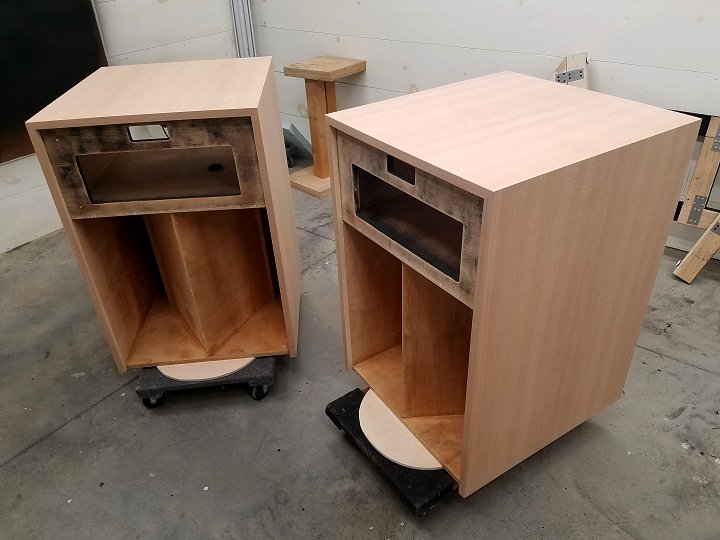
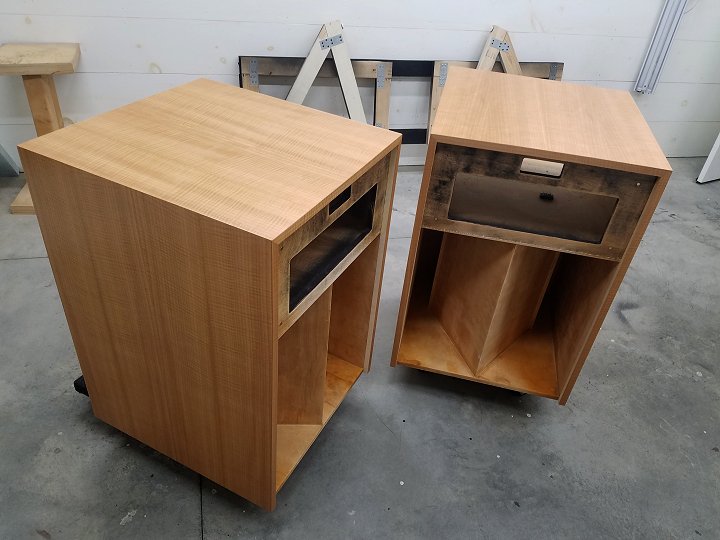
Here the cabinets have the clear satin lacquer applied.
HOLD THE PRESSES!
My customer has now decided that he would indeed like me to install sonic upgrades in his speakers. Wish I had known before I put a lacquer finish on, and before I made those beautiful grill frames – but that’s ok, we’ll make it work.
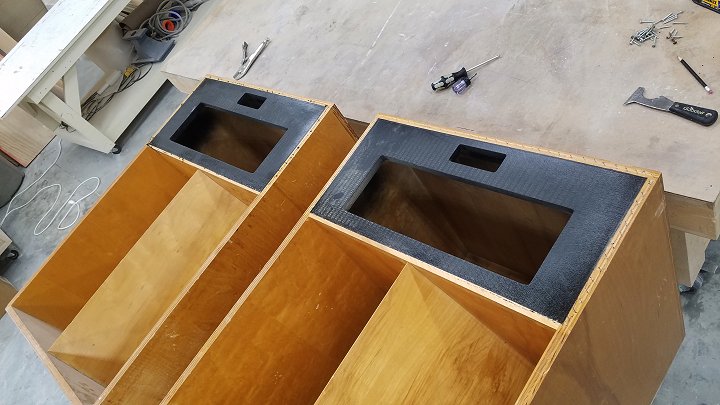
We’ve decided on a pair of Volti Audio midrange horns, nice 2″ outlet midrange drivers, some really nice tweeters, and new Volti Audio crossovers.
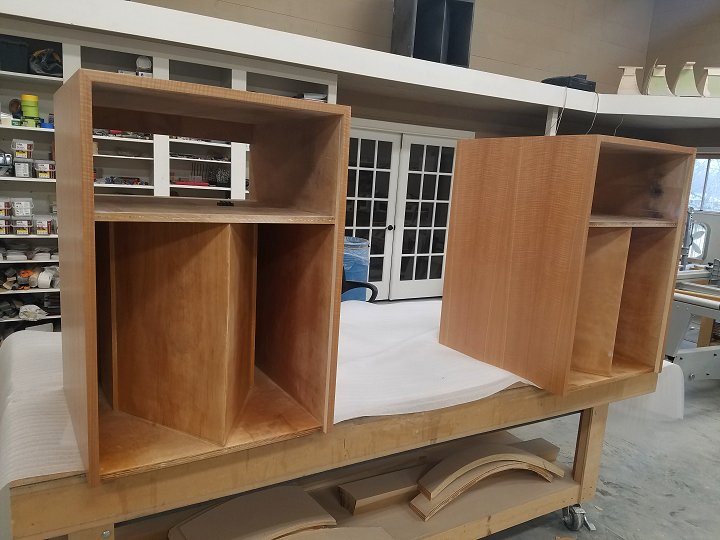
I built a pair of midrange horns that will fit perfectly in the tophat of the La Scala, and leave space for a vertically-mounted tweeter lens beside the new mid horns.
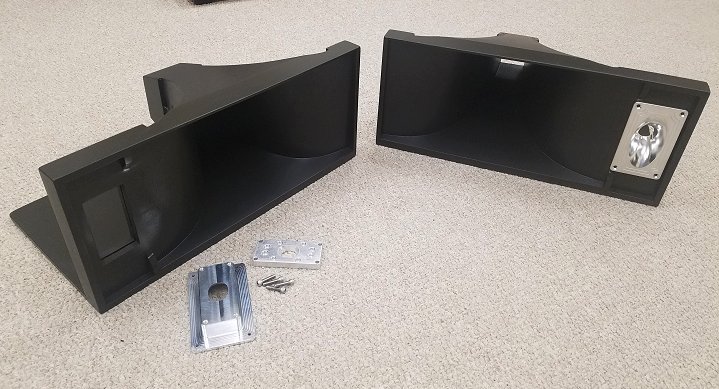
Installation will be a breeze (once the fronts are cut out), by just sliding the finished horn assembly into the tophat and securing in place with a couple of screws. Cloth will be installed over the front of the horn and is sized correctly to fit tightly inside the tophat opening (with the fronts cut out).
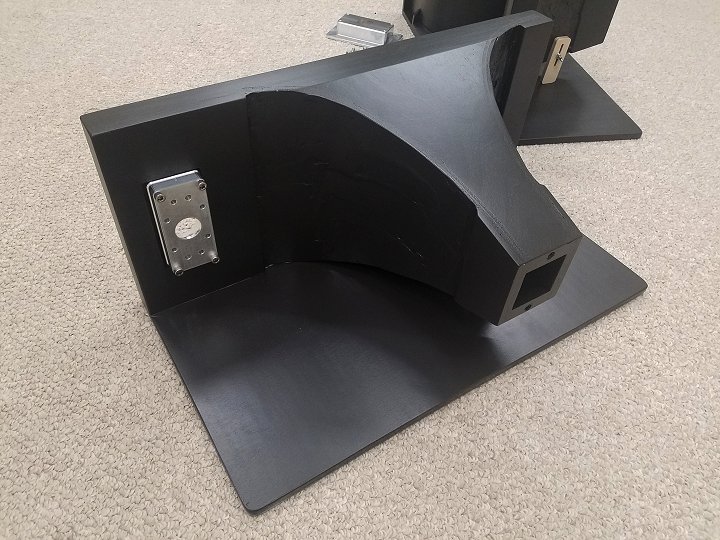
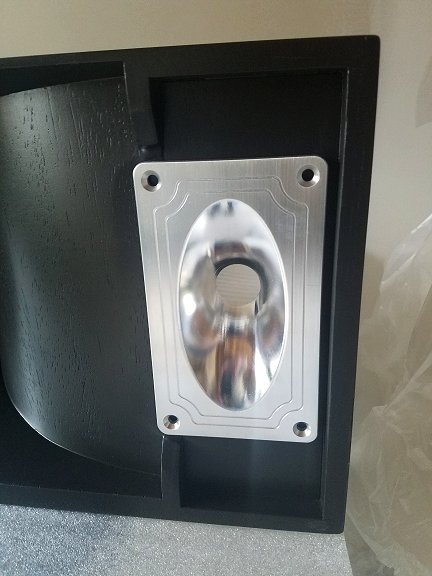
I bought a pair of these beautifully machined aluminum tweeter lenses.
It wasn’t easy, but the fronts have been removed, leaving a nice space for the new horn assemblies to fit in. These are now ready for paint.
Paint Contrast and Final Upgrade Photos
Wow, what a difference the paint made! Now the light veneer really POPS against the dark paint.
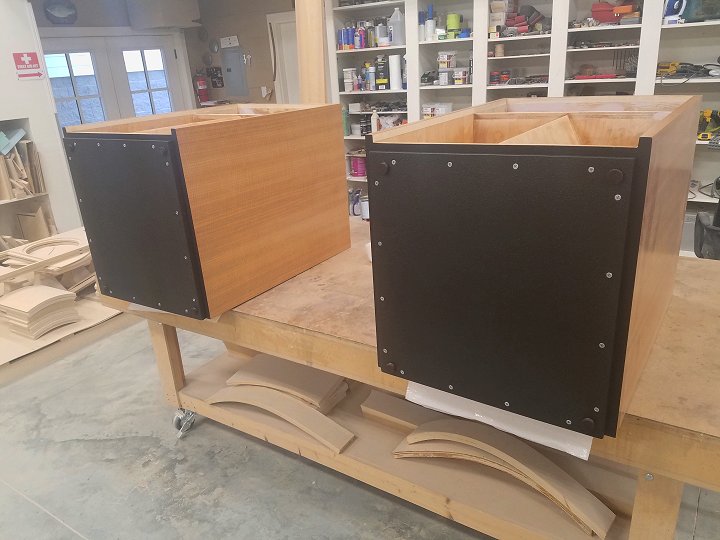
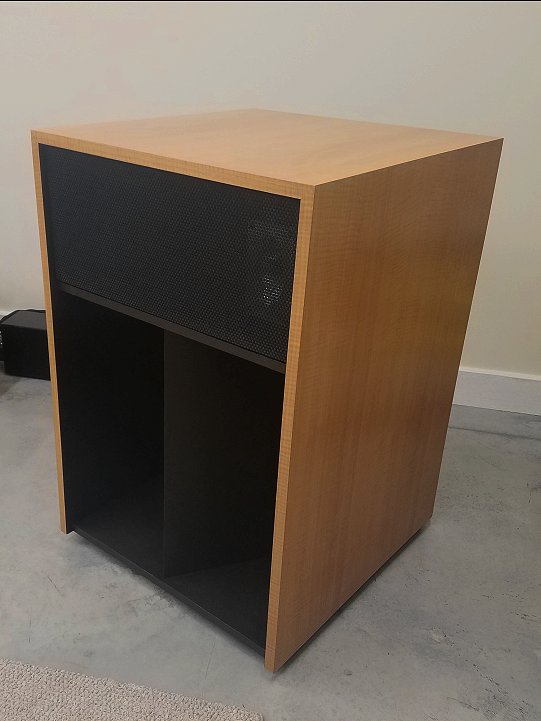
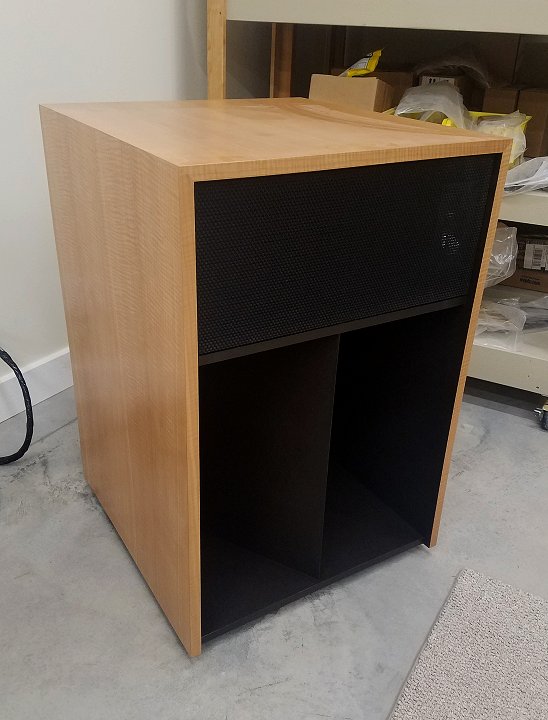
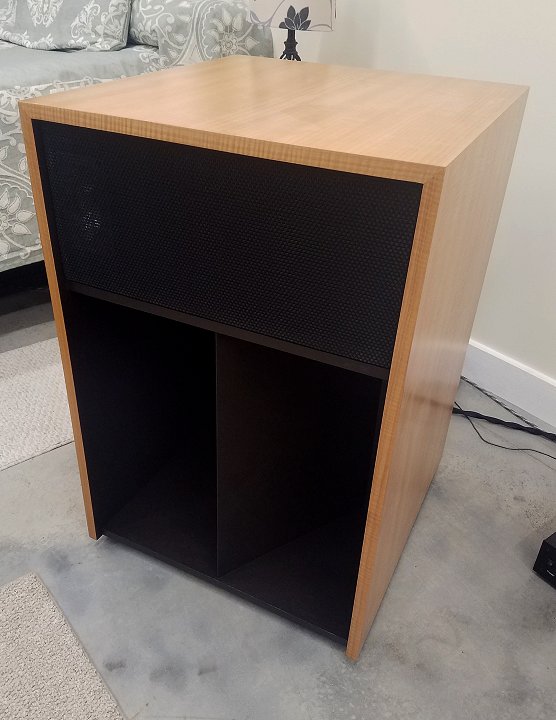
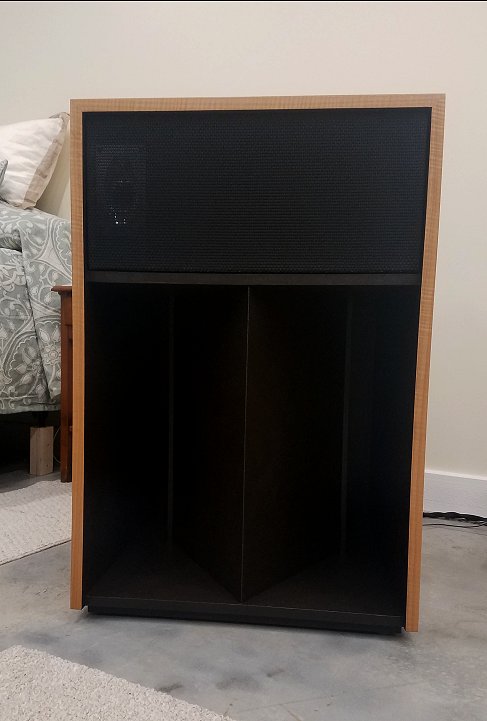
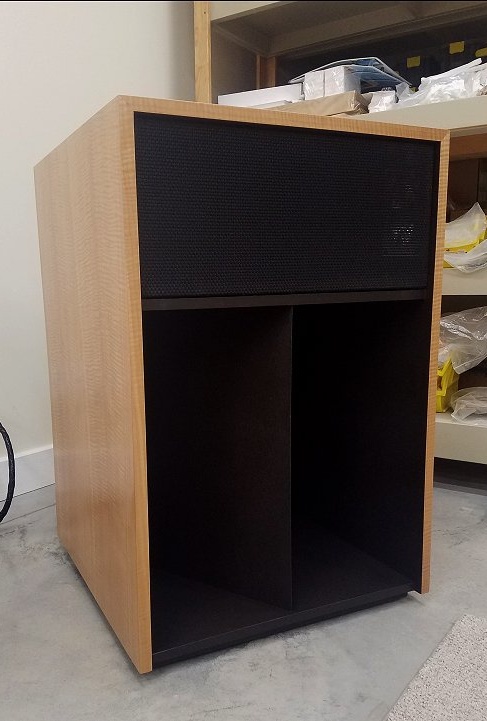
I’ve got the horns and drivers installed and they’re moved into my listening room. Next I’ll make some internal wires and work on testing and tuning the new crossovers, and they’ll be set to go.